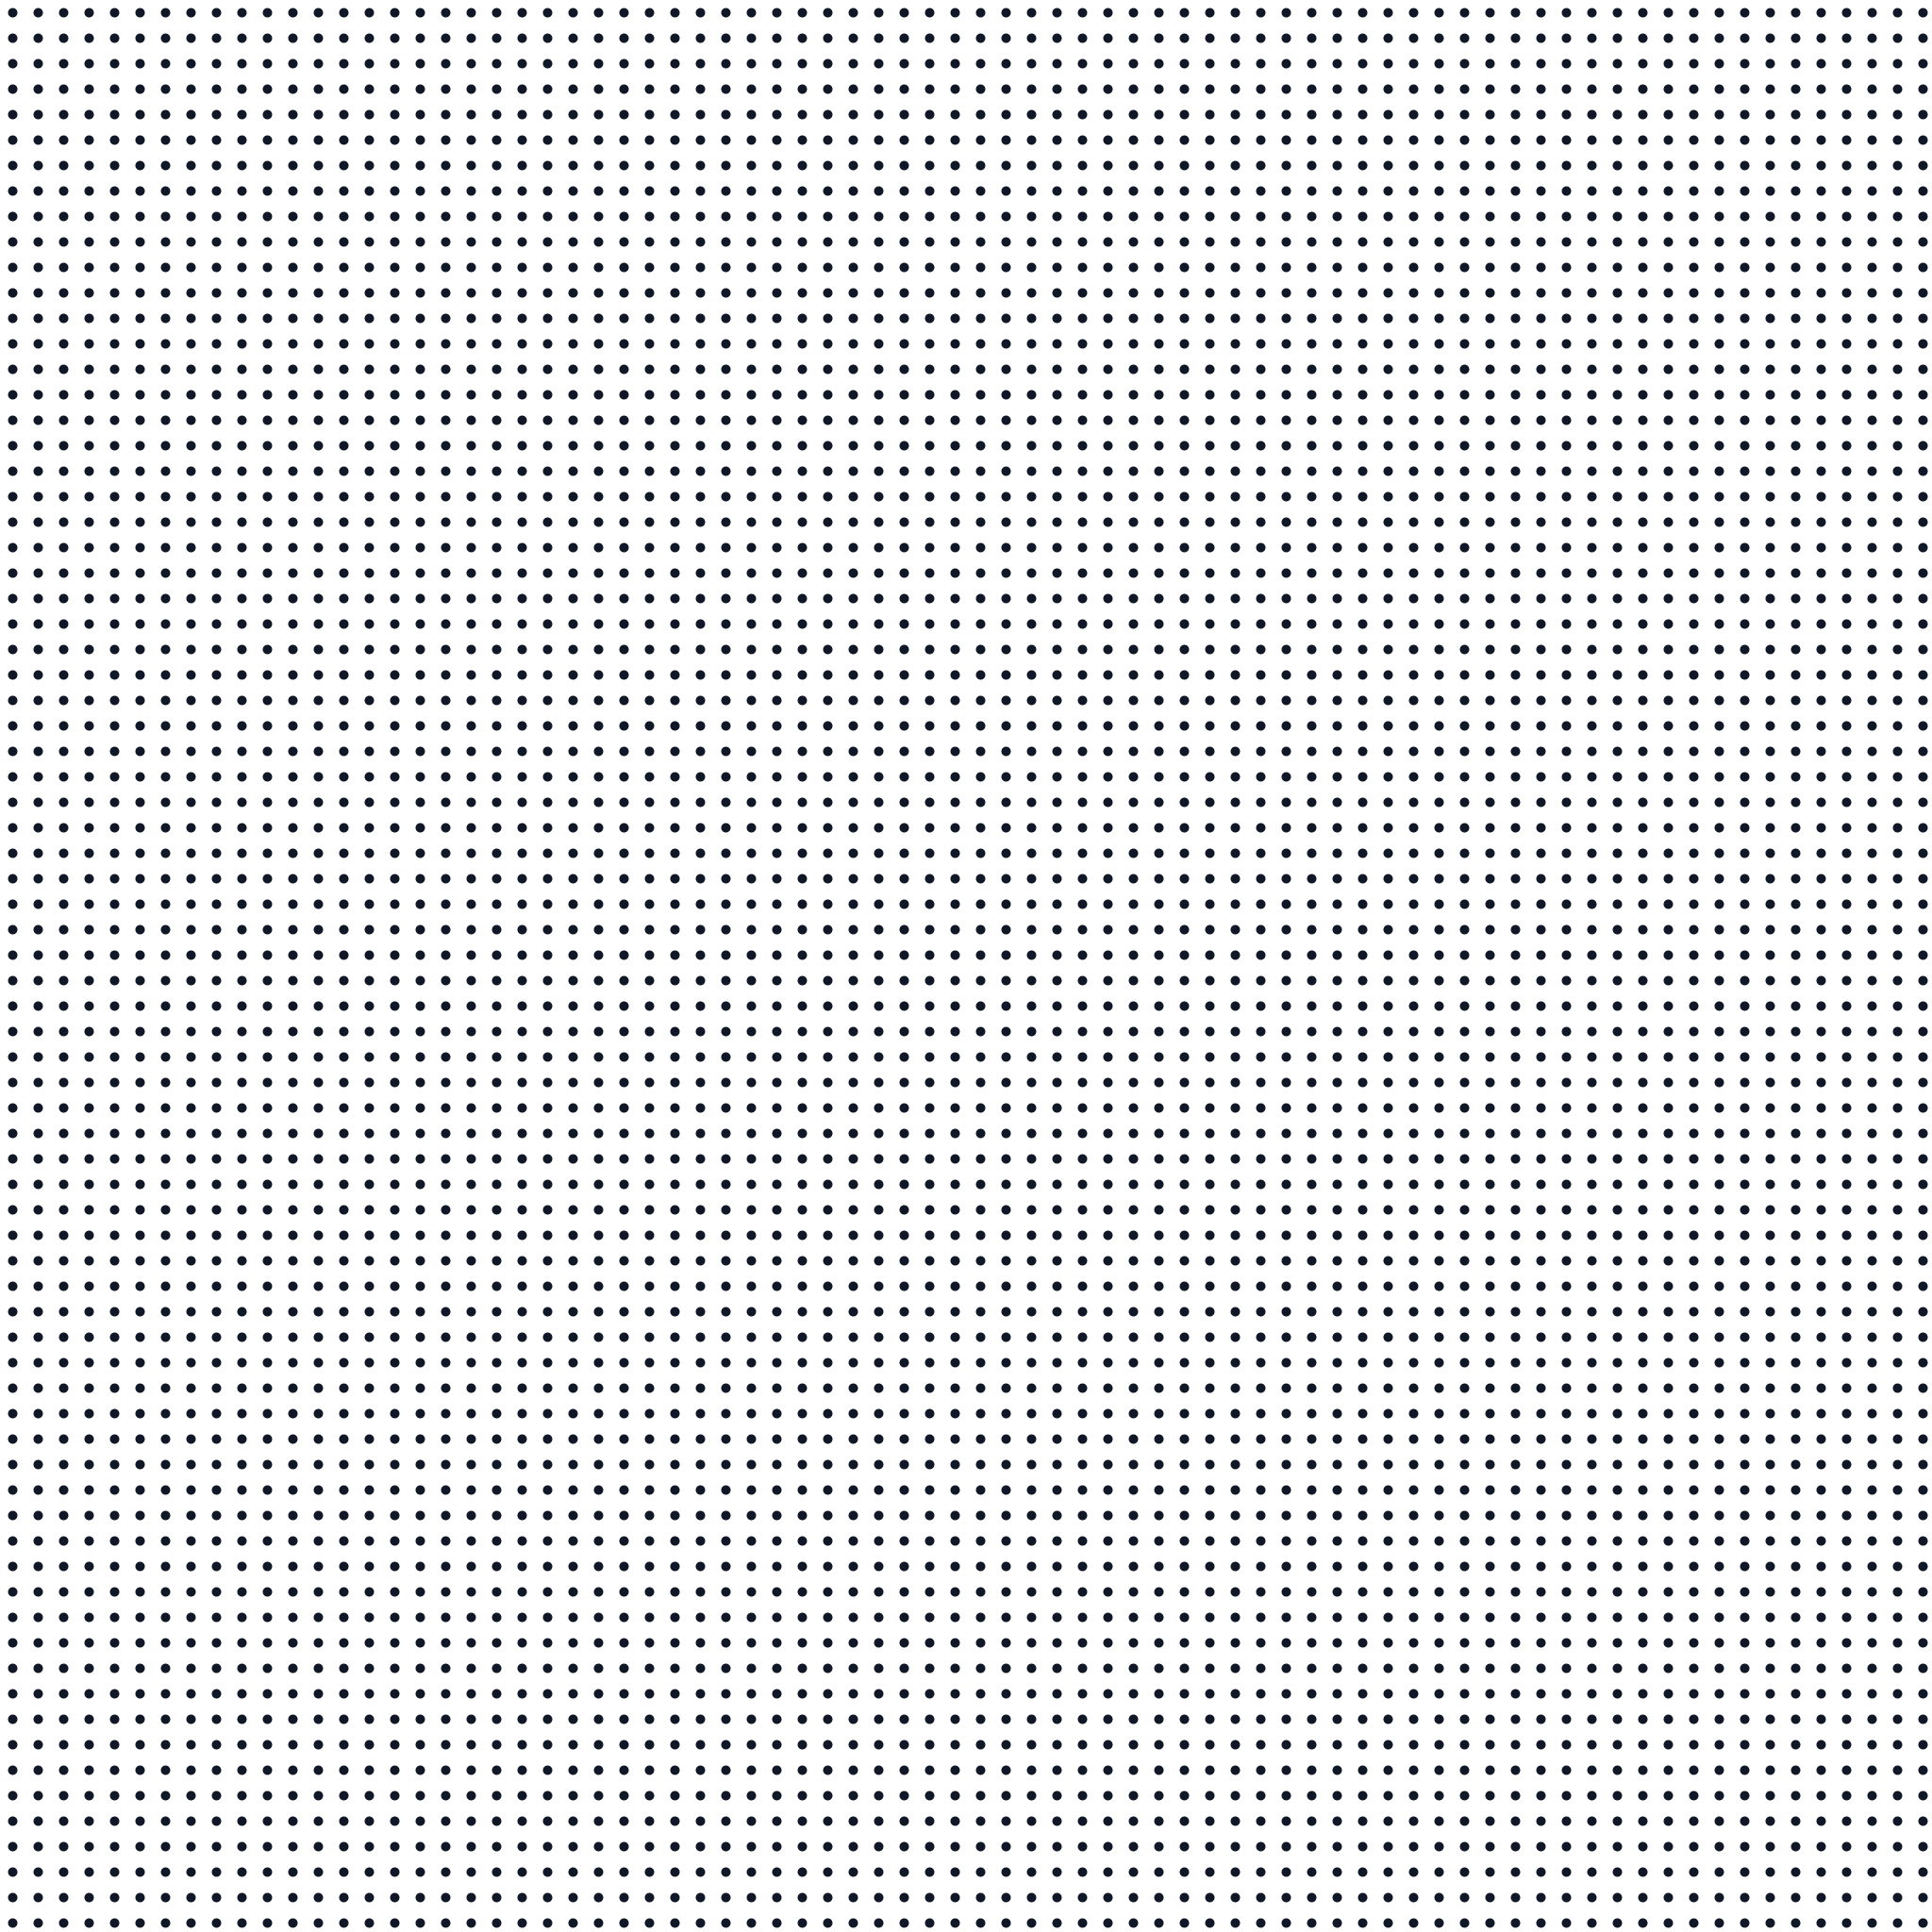
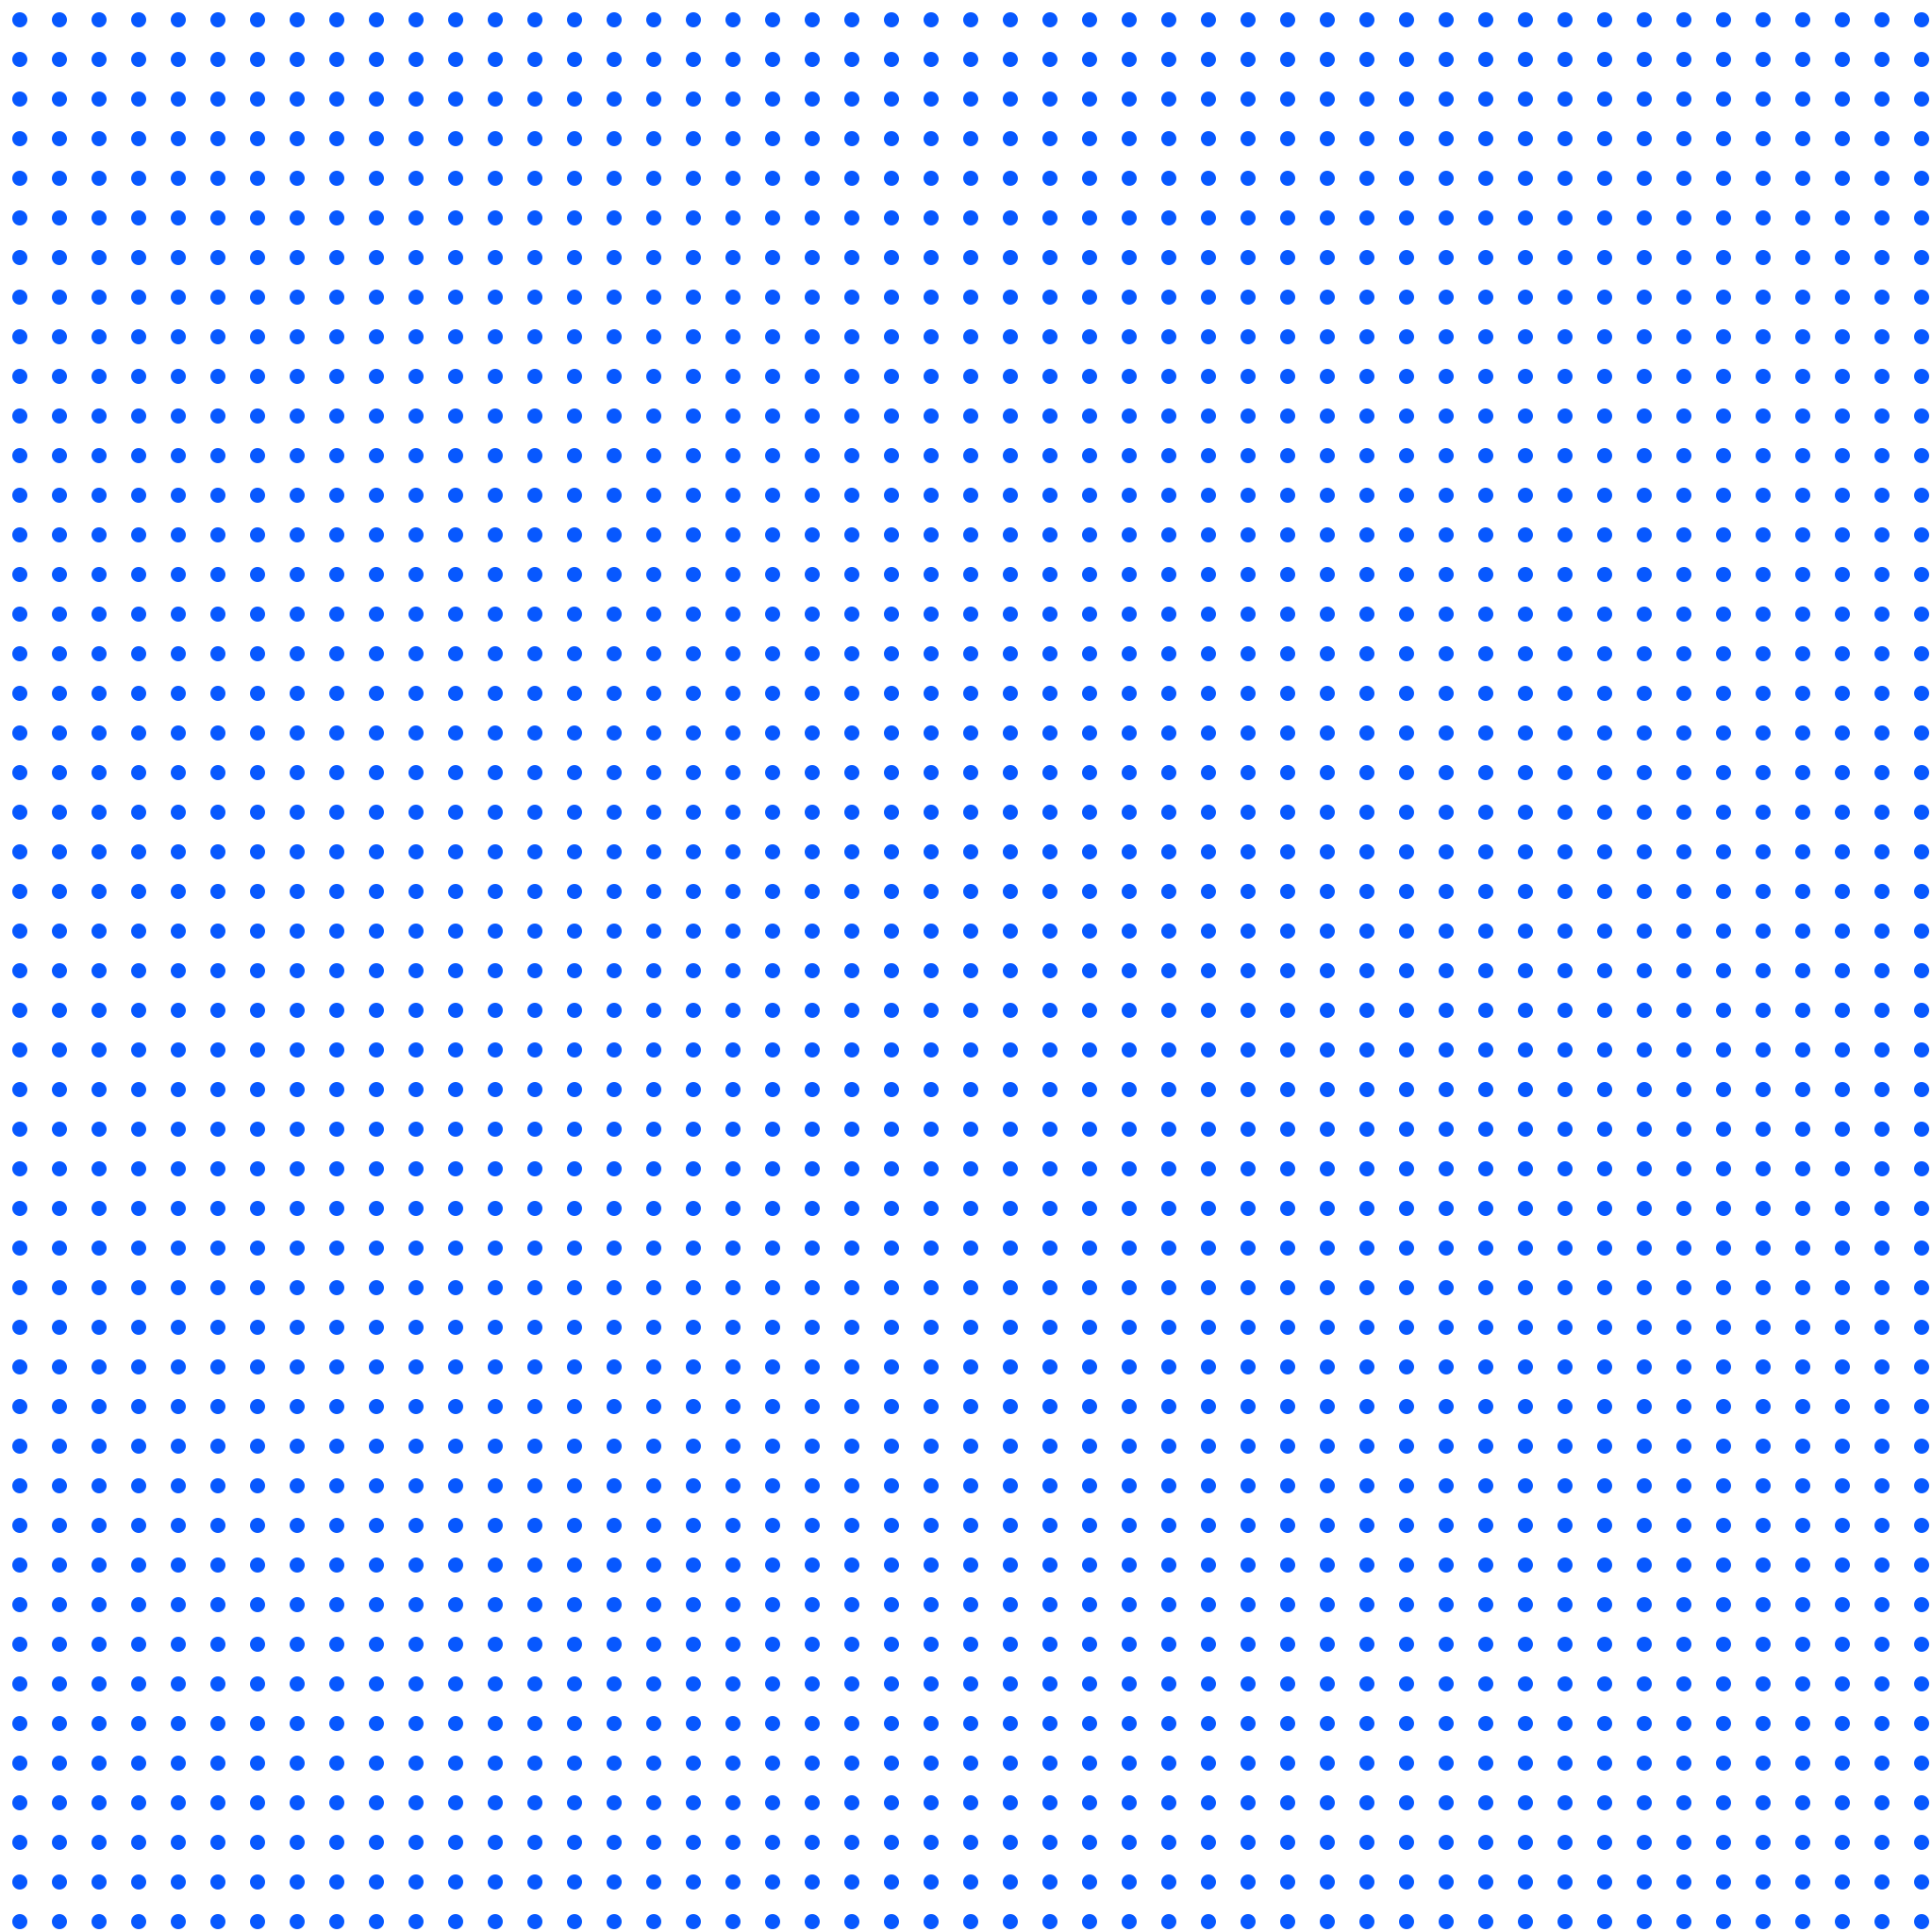
 Round dots
 · 27 px
Prepared dot texture for backgrounds and graphic layers.
2048 × 2048 px · Transparent
PNG: 70.1 KiB · SVG: 0.4 KiB
27 px spacing · 11% geometric coverage
Compare the artwork · 6 original textures
Start here when you want to choose how the dots look. Compare four transparent round-dot textures and two cream-backed diamond patterns, then download PNG for placement or SVG for editing. For layering on a photo, use the overlay preview; for a specific pixel size, use the PNG collection.
The formats overlap, but each collection supports a different next step. Choose by the decision you need to make.
Start here when you want to choose how the dots look. Compare four transparent round-dot textures and two cream-backed diamond patterns, then download PNG for placement or SVG for editing. For layering on a photo, use the overlay preview; for a specific pixel size, use the PNG collection.
Add a layer to artworkUse this page when you already have a photo or design and want to add a dot texture. Try dark or white dots on the sample portrait, adjust opacity, and download the transparent layer. For choosing shapes, browse Dots; for choosing pixel dimensions, browse PNG.
Choose the file specificationUse this page when you know you need a PNG and want the right dimensions and background. Choose 1024 or 2048 pixels, filter transparent or cream-backed designs, and check the actual file size before downloading. For comparing dot styles, use Dots; for testing a layer on a photo, use Overlay.
Preview, choose, download
Transparent dot textures and diamond backgrounds, previewed from the original files.
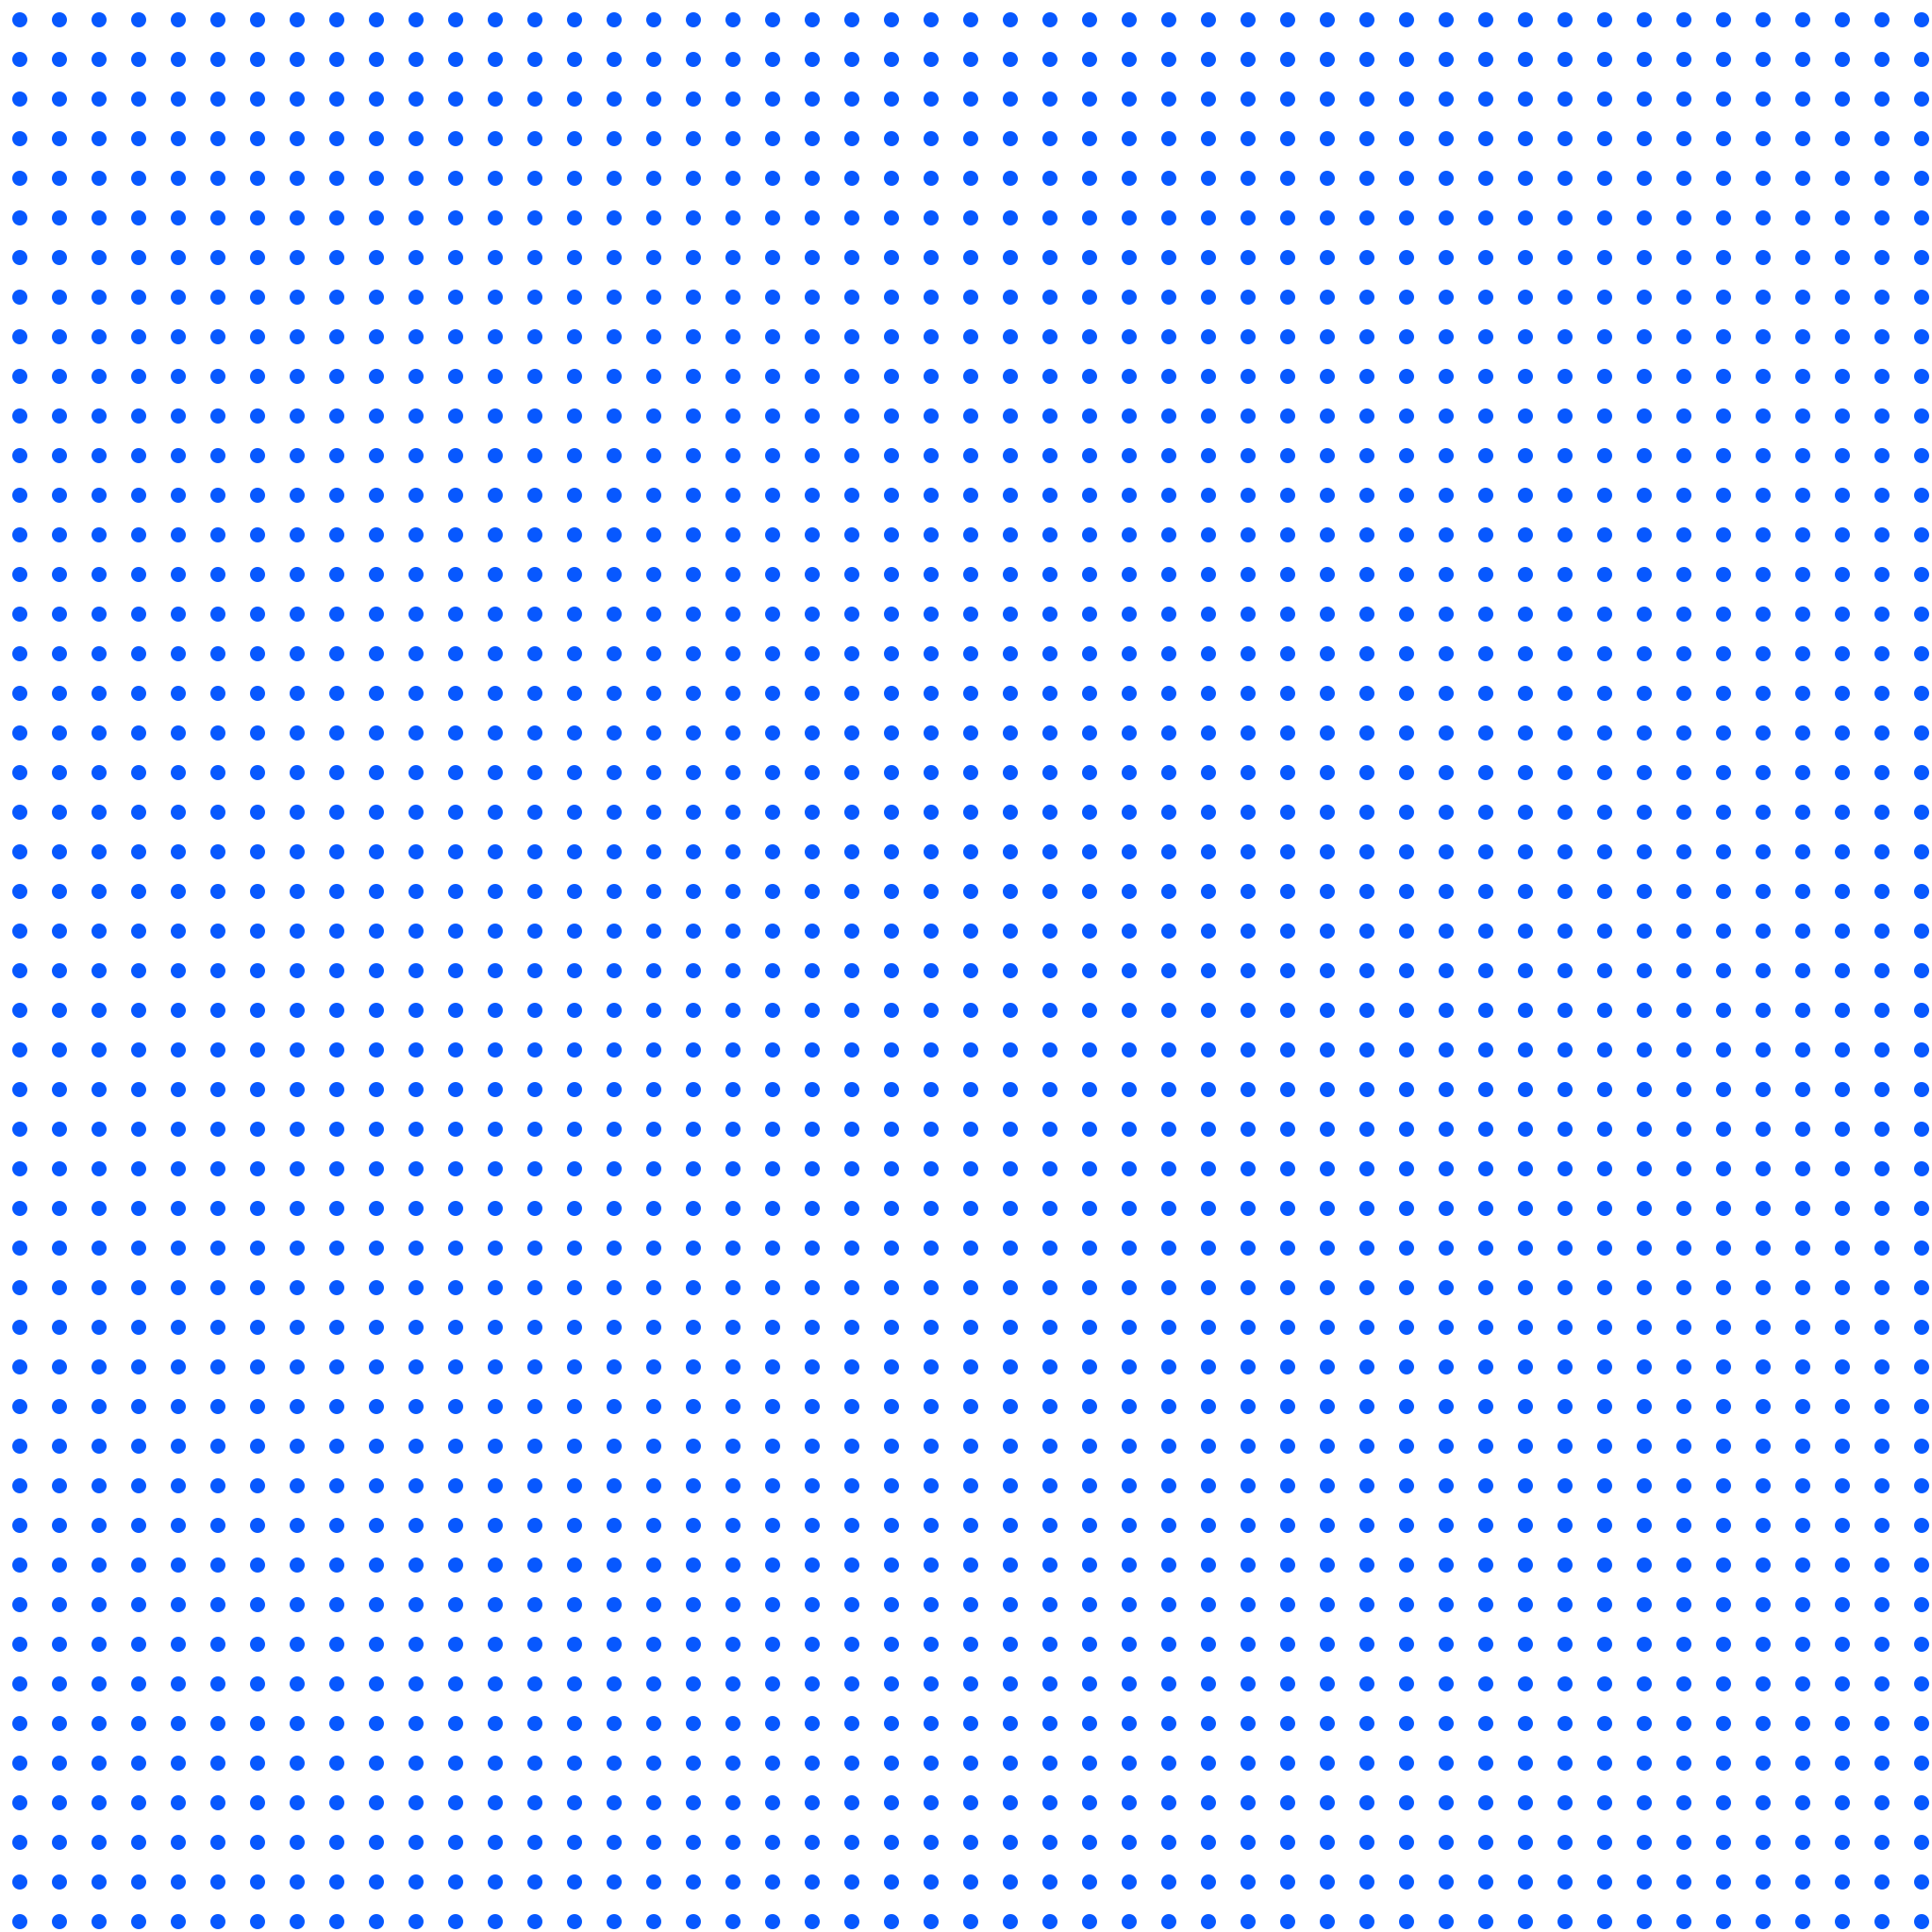
Round dotsPrepared dot texture for backgrounds and graphic layers.
2048 × 2048 px · Transparent
PNG: 70.1 KiB · SVG: 0.4 KiB
27 px spacing · 11% geometric coverage
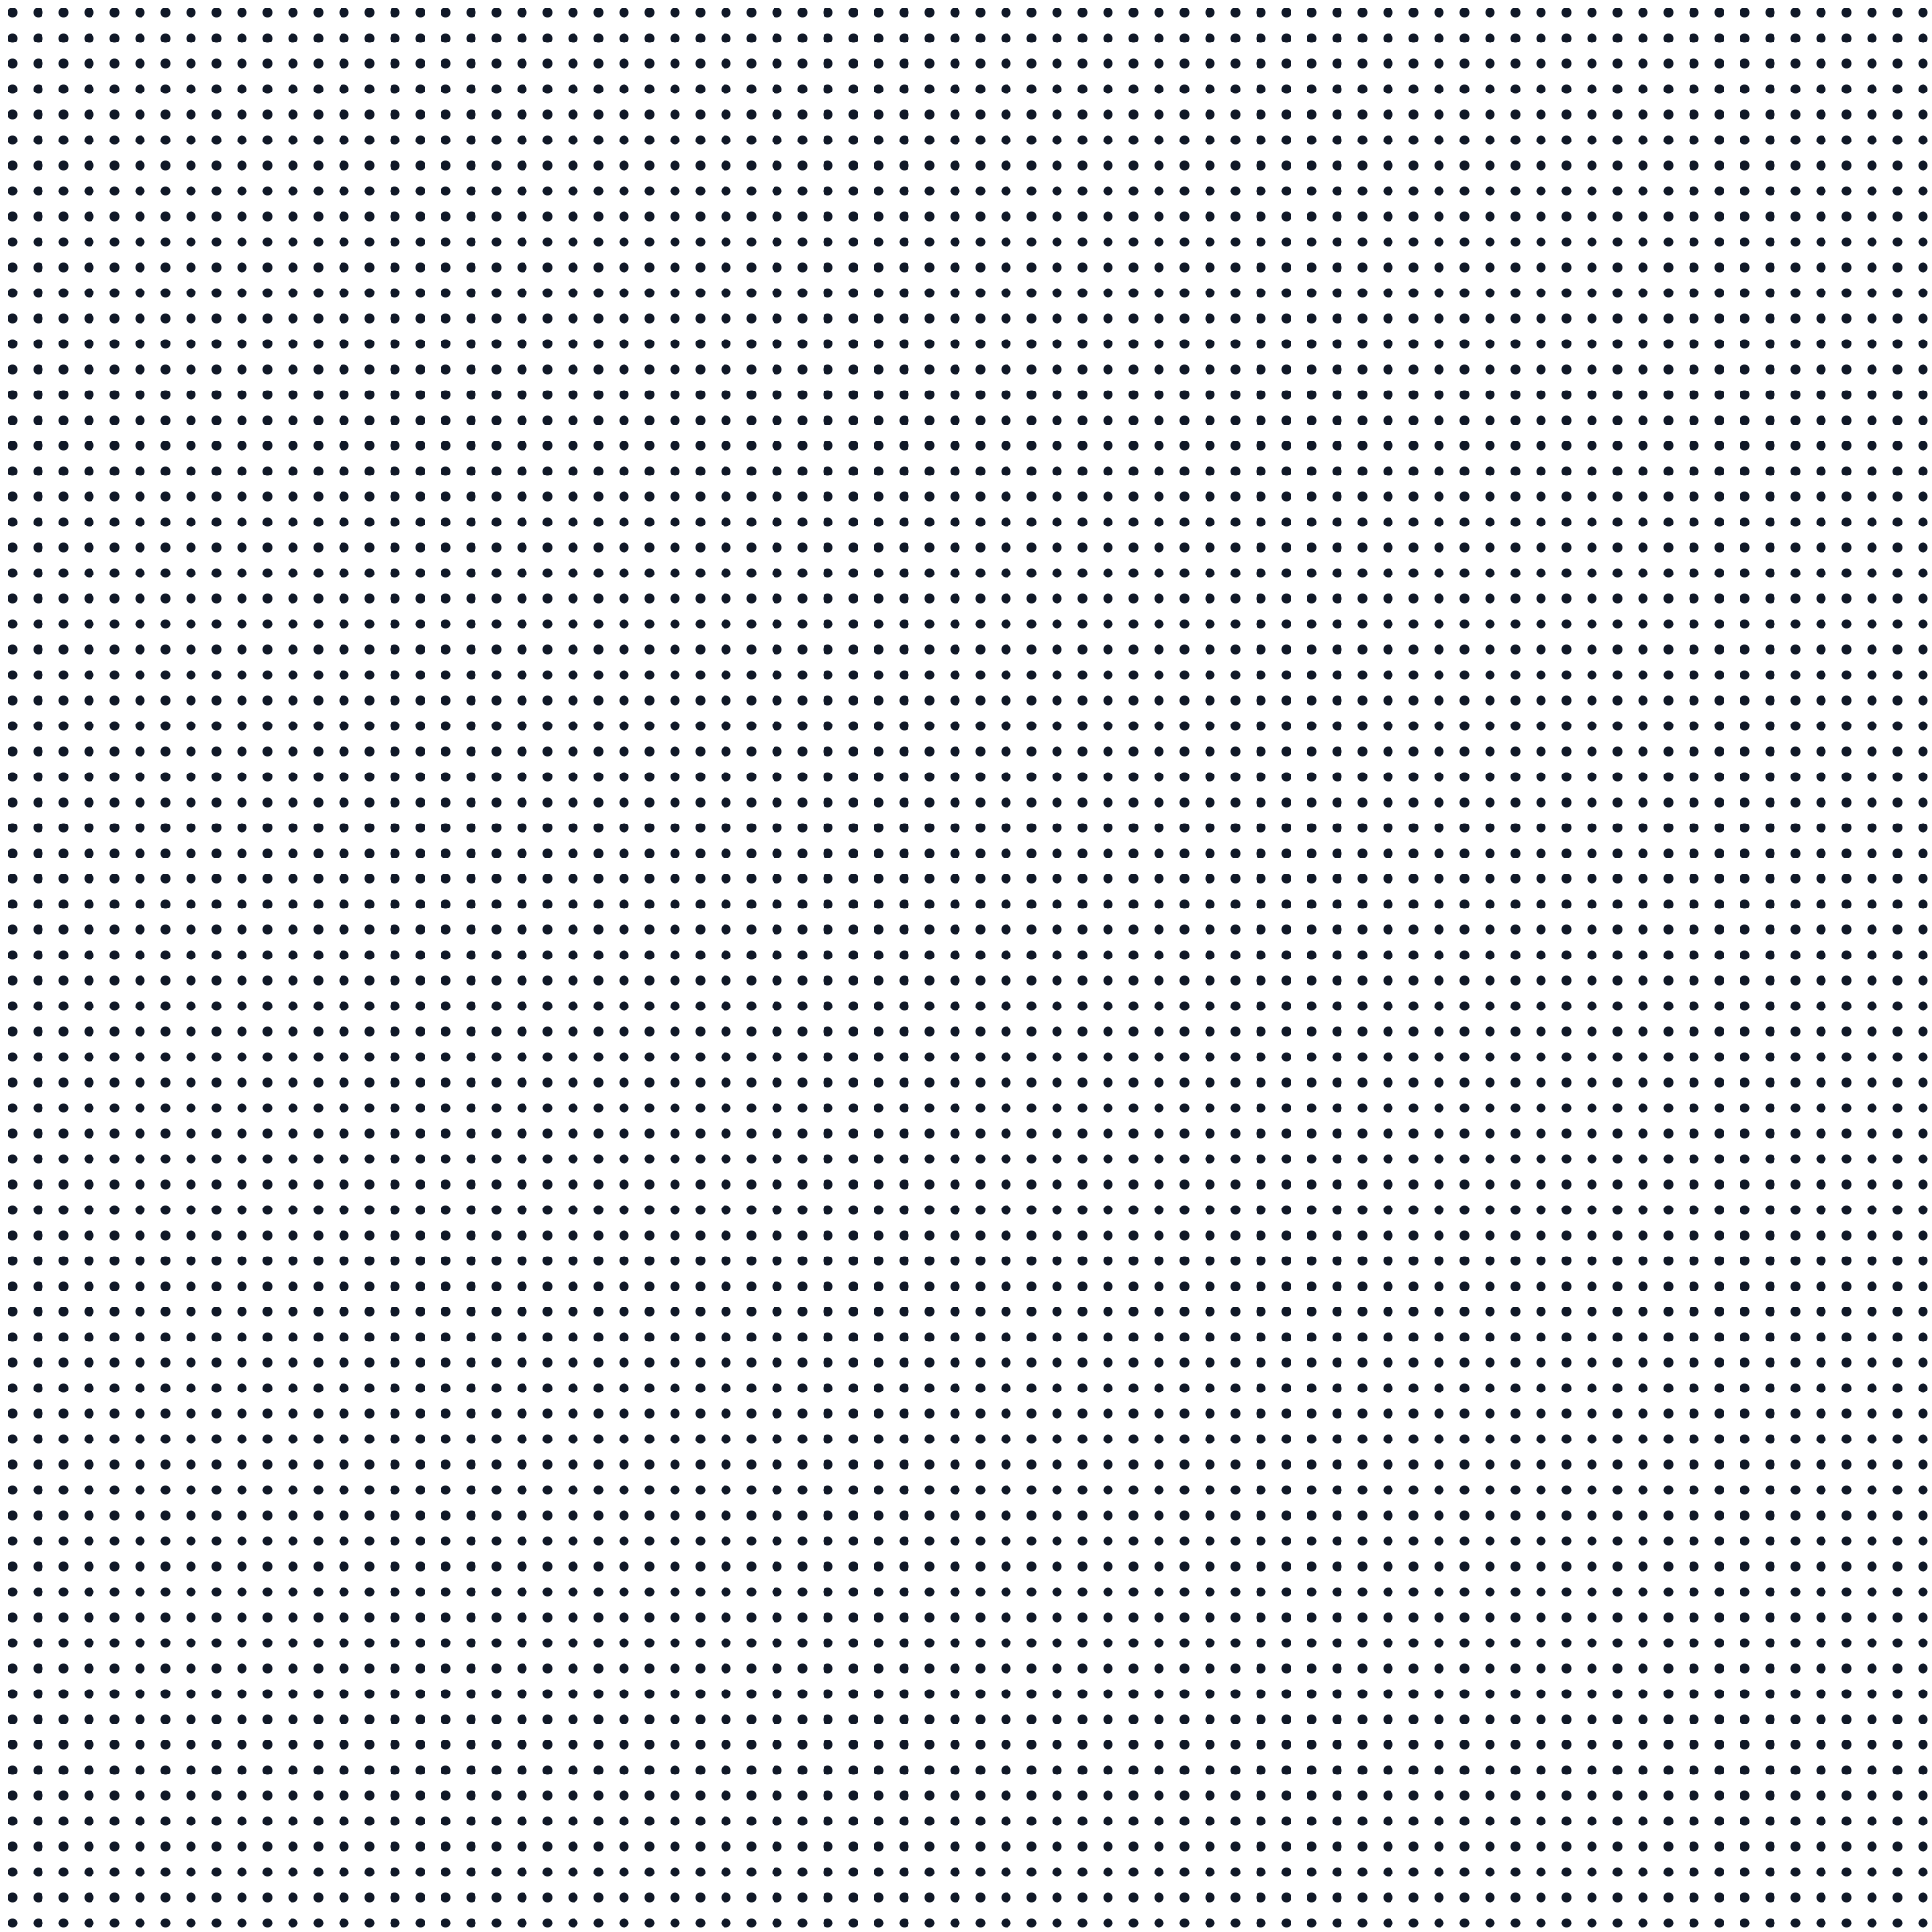
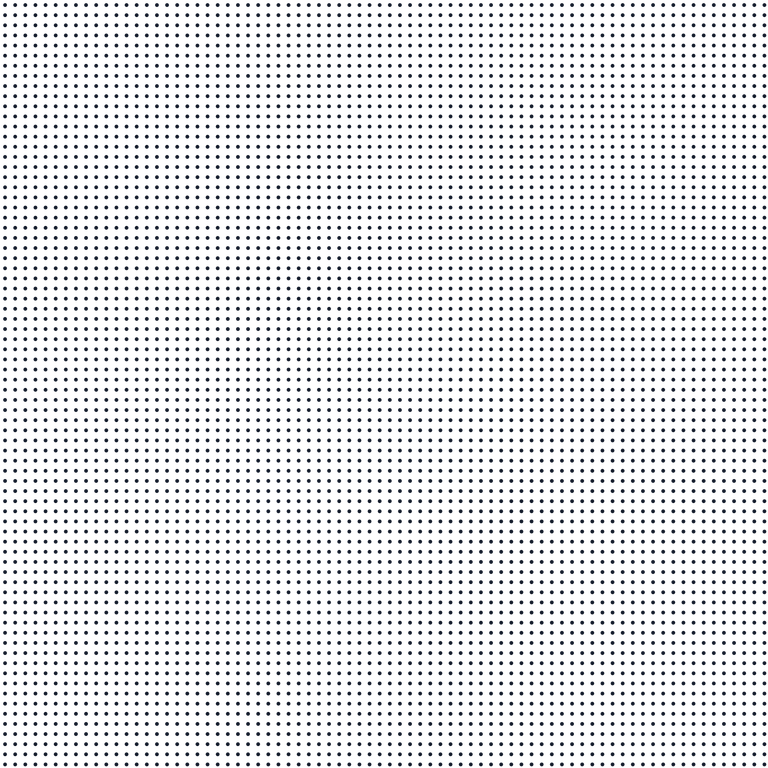
 Round dots
Prepared dot texture for backgrounds and graphic layers.
2048 × 2048 px · Transparent
PNG: 64.2 KiB · SVG: 0.4 KiB
32 px spacing · 11% geometric coverage
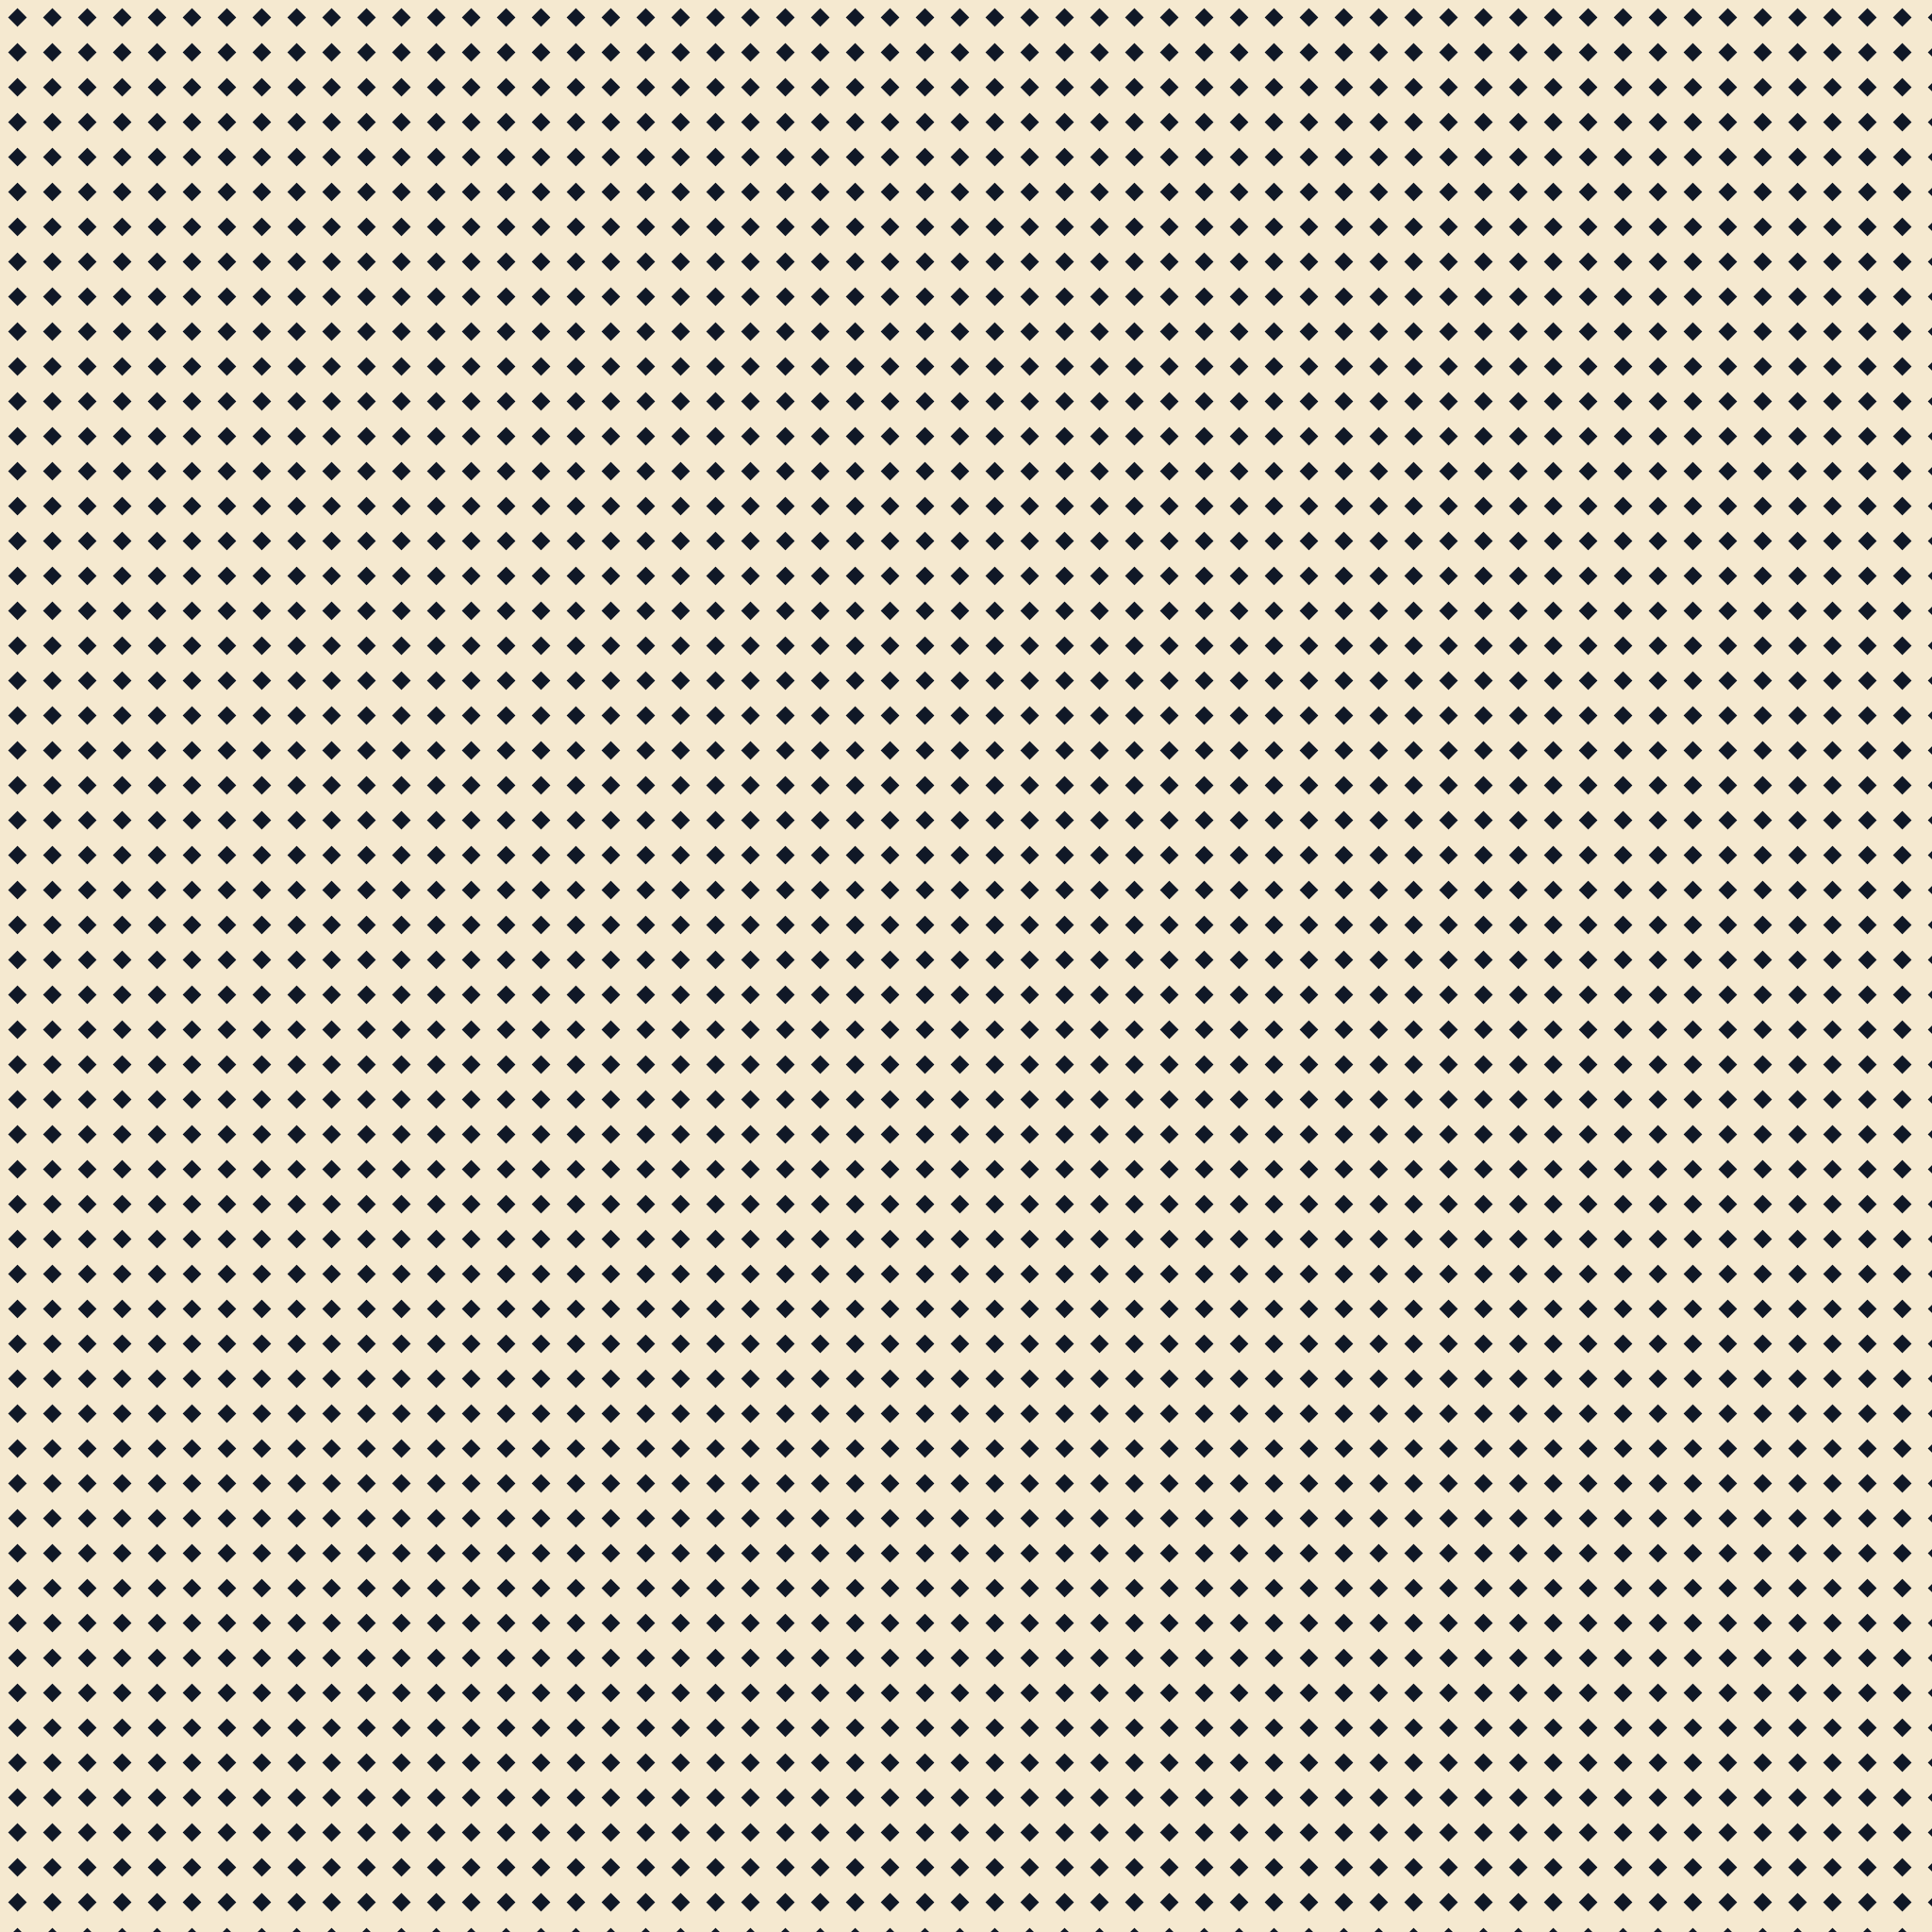
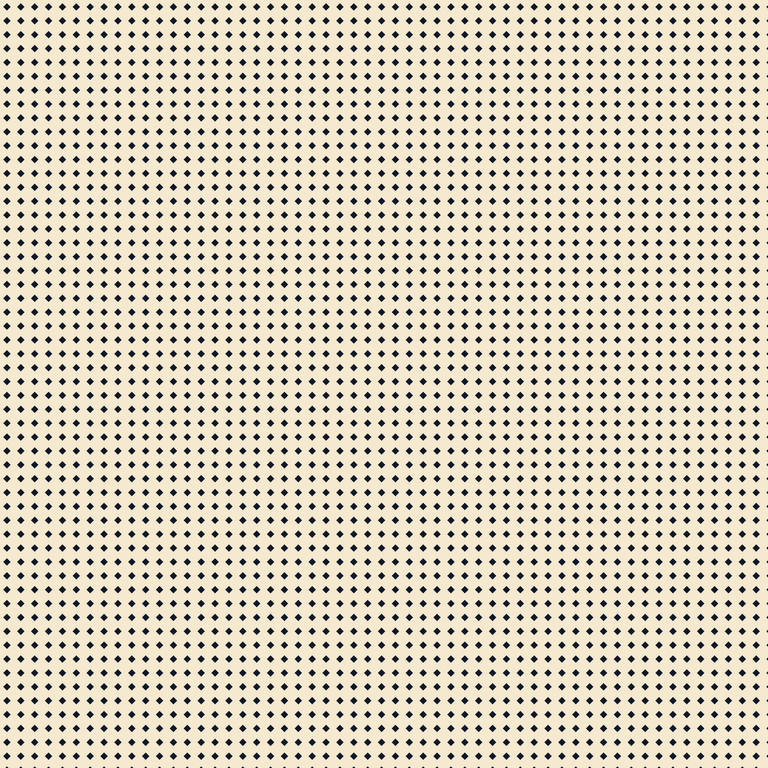 Diamonds
Prepared dot texture for backgrounds and graphic layers.
2048 × 2048 px · Cream background
PNG: 117.7 KiB · SVG: 0.5 KiB
37 px spacing · 14% geometric coverage
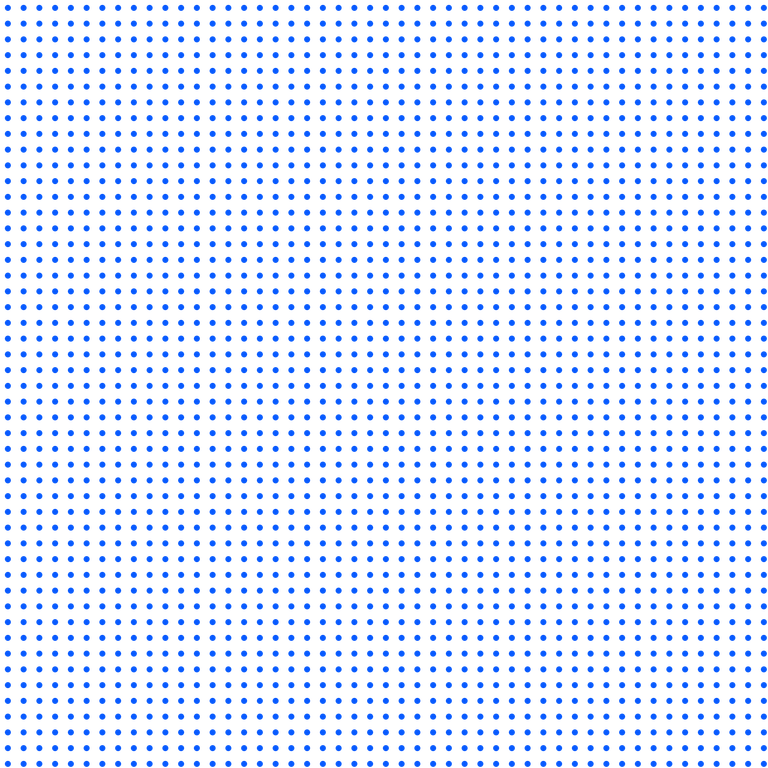 Round dots
Prepared dot texture for backgrounds and graphic layers.
2048 × 2048 px · Transparent
PNG: 67.8 KiB · SVG: 0.4 KiB
42 px spacing · 11% geometric coverage
 Round dots
Prepared dot texture for backgrounds and graphic layers.
2048 × 2048 px · Transparent
PNG: 74.2 KiB · SVG: 0.4 KiB
47 px spacing · 12% geometric coverage
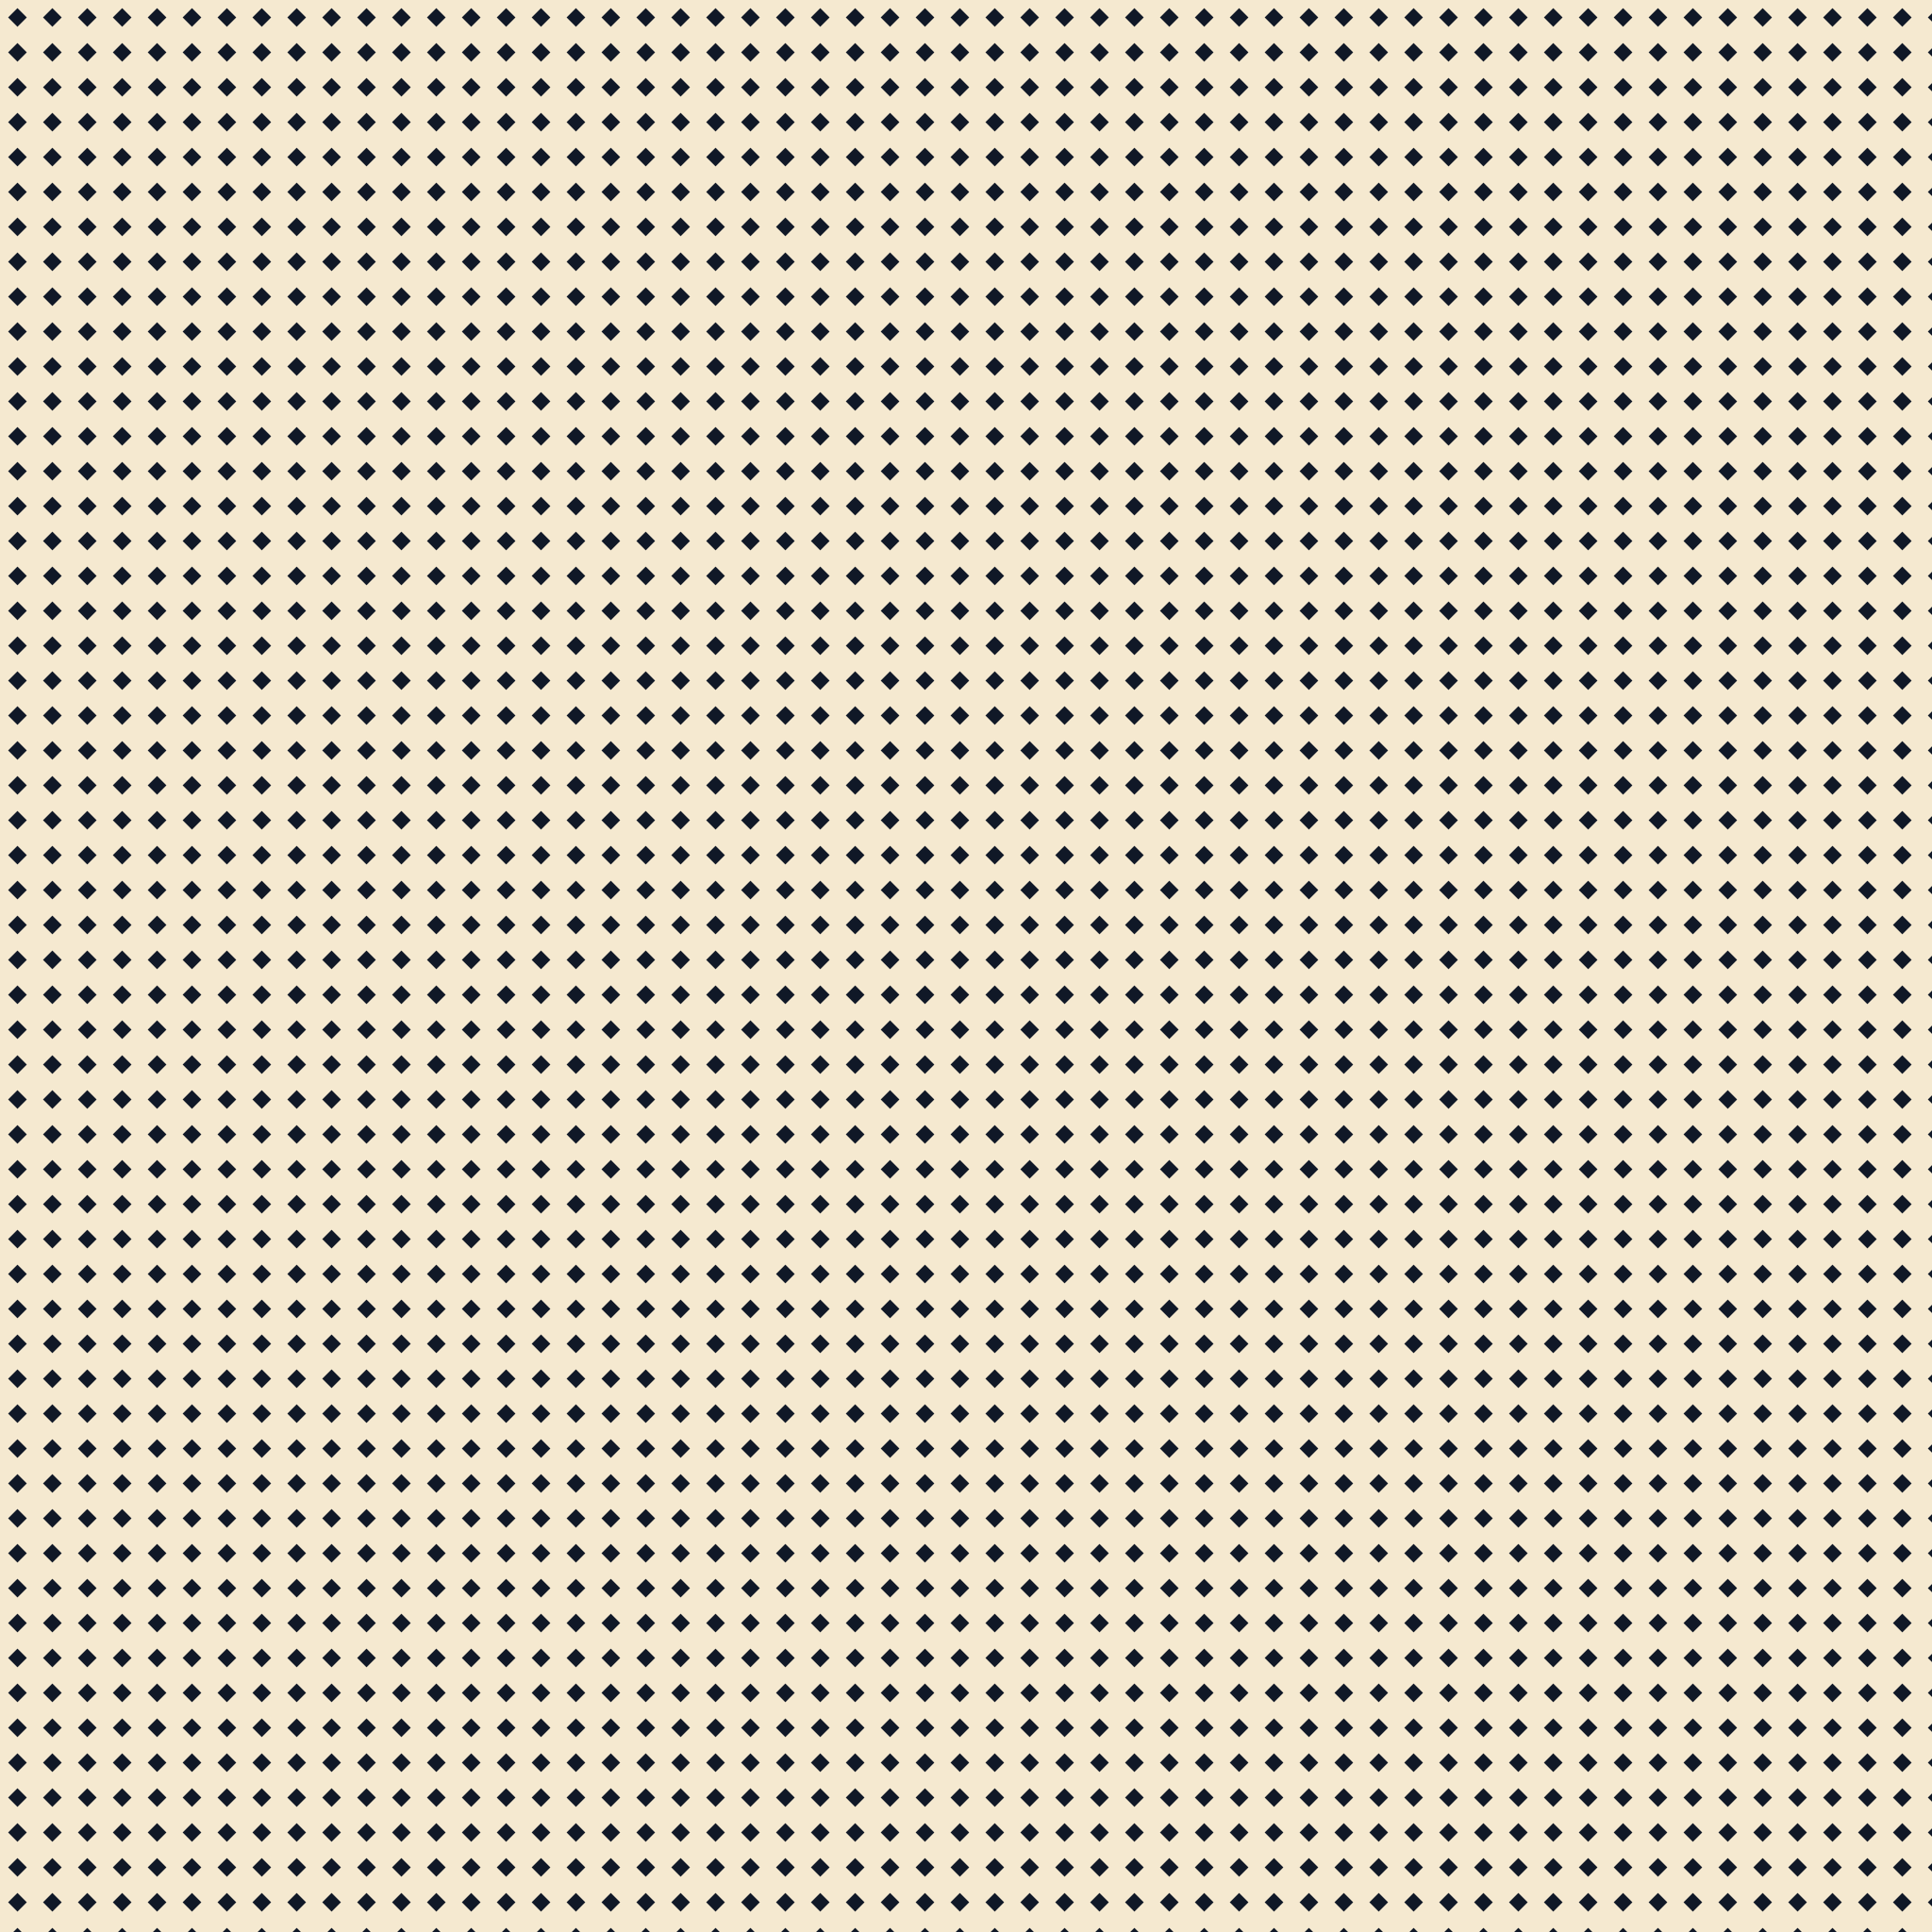
 Diamonds
Prepared dot texture for backgrounds and graphic layers.
2048 × 2048 px · Cream background
PNG: 121.8 KiB · SVG: 0.5 KiB
52 px spacing · 15% geometric coverage
Free for personal and commercial designs. Edit and combine the textures with your work; do not resell the unmodified pack. Read usage terms.
Facts from the actual exports · 2026-09-18
Byte counts come from the downloadable PNG files. Coverage is geometric and is not a physical print measurement.
| Dimensions | Distinct patterns | Transparent / opaque | PNG size range |
|---|---|---|---|
| 2048 × 2048 px | 6 | 4 / 2 | 64.2 KiB–121.8 KiB |
Example: Round dots · 27 px uses 27 px spacing · 10 marks, with approximately 11% geometric coverage. The file size and dimensions on each card follow the chosen download.
The useful part
These halftone dots are ready-made geometric textures for posters, collages, covers, and backgrounds. The immediate task is choosing a visual style: a fine charcoal screen, a blue accent, a coarser circular pattern, or a field of diamonds. Each card is a real downloadable design. Its preview comes from the same artwork as the export, so the choice you make here carries through to the file you place in your project.
The marks in each texture have a constant size. They create an even tone across the surface rather than following the shadows of a photograph. This distinction matters when you are choosing a workflow. A regular dot field can decorate a portrait, but it will not turn the face itself into shaded dots. Use the photo generator on the homepage when you want that image-based effect.
The useful part
Round dots have a softer, familiar print-like rhythm. Diamonds have sharper edges and feel more geometric. In this collection, the round designs have transparent backgrounds, while the diamond designs sit on cream. The filter names describe those actual properties. Choose a transparent file if the colors or photograph beneath it must remain visible between the marks.
Compare spacing at the same placement size. The fine charcoal design uses a 27-pixel grid with 10-pixel dots; the bold charcoal version uses a 47-pixel grid with 18-pixel dots. Both cover roughly eleven to twelve percent of their repeating cells with ink. The second design has larger, more visible dots, but is not dramatically darker. That is why these files are named fine and bold rather than being sorted into arbitrary dark and light groups.
The useful part
A thumbnail squeezes thousands of source pixels into a small card. Fine marks may look softer or form temporary bands at that size. Open the downloaded artwork at 100 percent when judging individual edges, and then view it at the size it will occupy in your final layout. Both checks are useful: one shows the file, while the other shows what your audience will actually see.
The checkerboard under transparent patterns is a preview background, not part of the exported image. The cream behind the diamonds is part of those files. If you need a clear background, choose one of the transparent round-dot designs or create a new pattern. Do not assume that every texture in a dots collection has the same background just because the cards share a layout.
The useful part
Download a transparent PNG, place it on a separate layer above your artwork, and size it once to cover the intended area. Start with a low layer opacity, then increase it until the dots are visible without obscuring faces or text. Keep the texture on its own layer so you can move, crop, or remove it without changing the original design.
For a poster border or invitation background, a cream-backed diamond file is often a simpler starting point. Put text on a quiet area or a solid panel, and check that the pattern does not compete with small lettering. For an accent rather than a full background, crop the texture to a strip, a corner, or a shape in your design editor. The original file remains available if you later need a larger area.
The useful part
PNG is convenient when the next step is placement. The six PNG downloads are 2048 by 2048 pixels and preserve their listed backgrounds. They work as raster layers in applications that support PNG transparency. Reducing a file for a smaller layout is straightforward; enlarging it beyond its source dimensions does not add detail. Check the final appearance instead of relying on the canvas size alone.
SVG is useful when you intend to edit the geometry or colors in a vector editor. Its shapes are scalable, and the files use repeating pattern definitions. Import support varies between design applications, so check the opened result before committing a finished layout. The paired SVG and PNG describe the same texture. Choosing SVG changes your editing options, not the subject of the pattern.
The useful part
These downloads are full-size texture sheets. Do not assume that every sheet joins seamlessly at its outer edges: its dimensions may cut through a repeating cell. For a background that must tile without a seam, use the pattern maker and inspect its repeat preview. Scaling one sheet to fill a canvas and repeating a tile are different tasks, even when both results look dotted.
Ink coverage on each card is calculated from the mark area divided by the grid-cell area, rounded to a whole percent. It describes this geometry before raster anti-aliasing. It is not a physical screen frequency or a measured printing result. For a printed job, inspect the exported artwork at the intended size and use the requirements of the printing process. A larger pixel canvas alone does not establish the right dot spacing for a physical print.
The useful part
The complete pack includes six PNG files, their six editable SVG counterparts, and usage terms. Download one design if you already know which style fits, or save the pack to compare the files inside your own editor. The file facts above report actual export dimensions and file sizes from the generated assets; they are not estimated download limits.
You may use the original textures in personal and commercial designs, modify them, and combine them with your own artwork. Do not resell the unmodified pack as a standalone product. If the next task is testing a texture over a photograph, continue to Halftone Overlay. If the next task is choosing 1024 or 2048 pixels, continue to Halftone PNG. Both collections are linked here so you can move directly to the workflow you need.