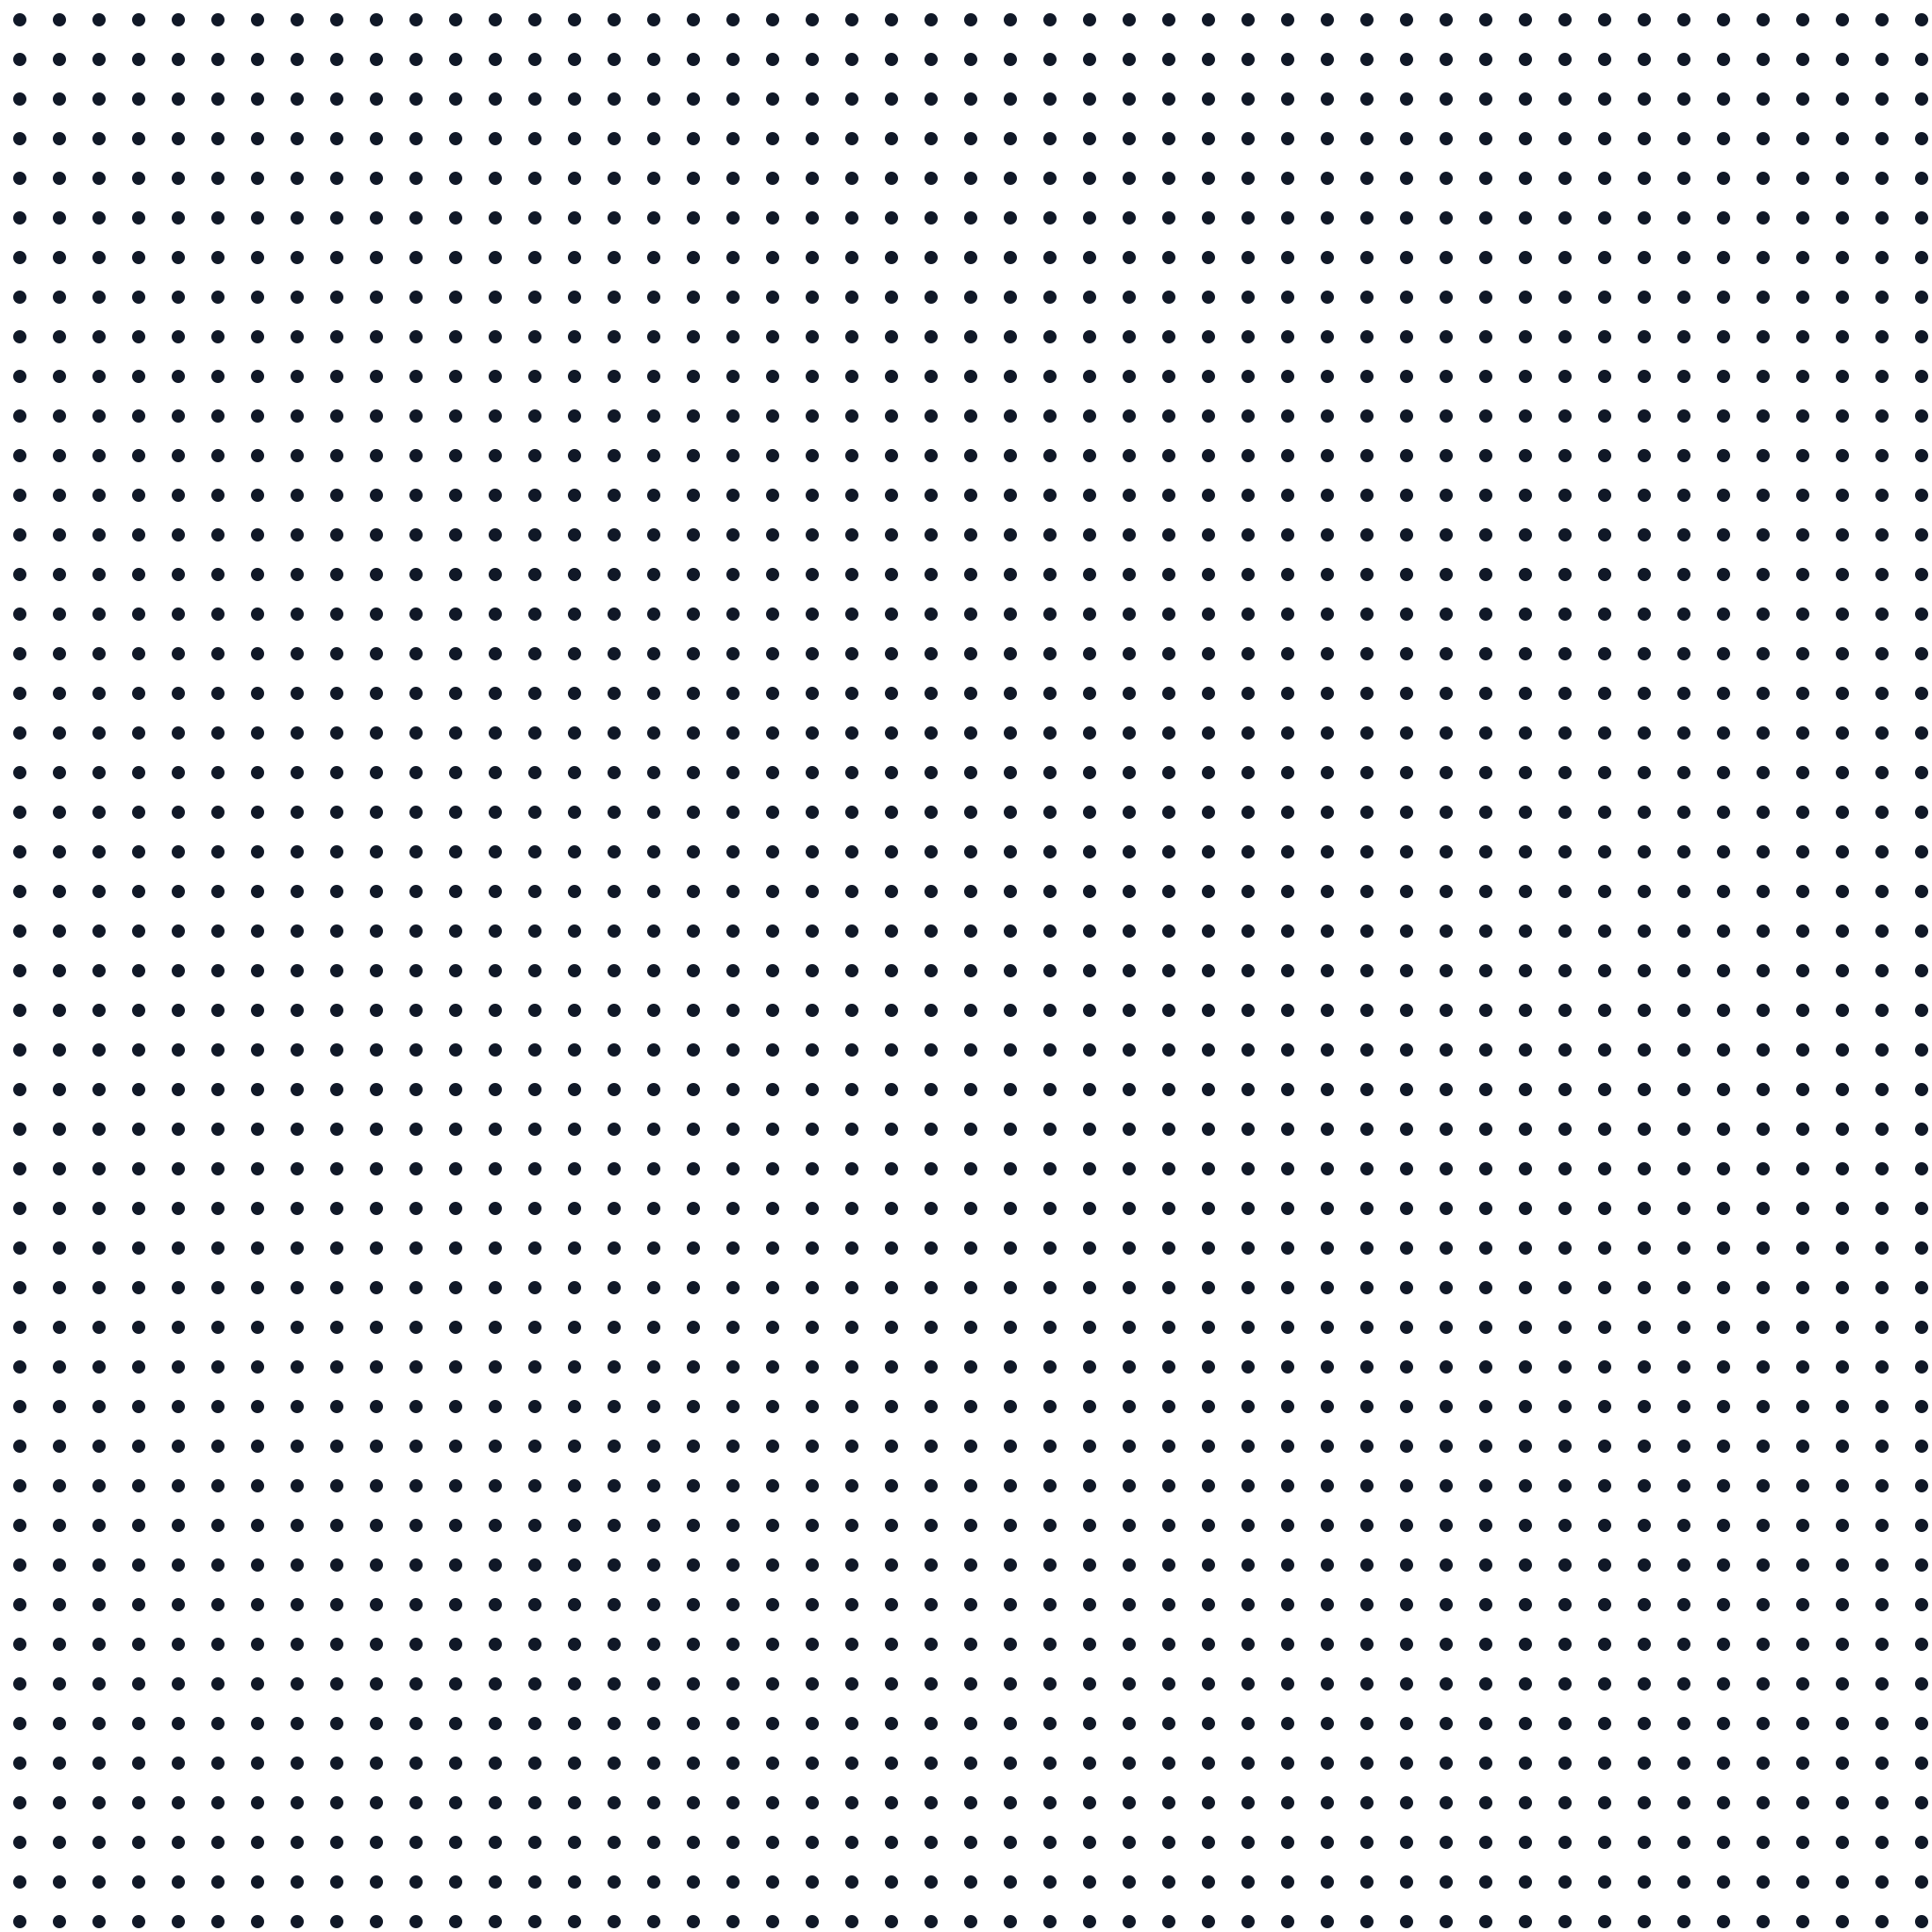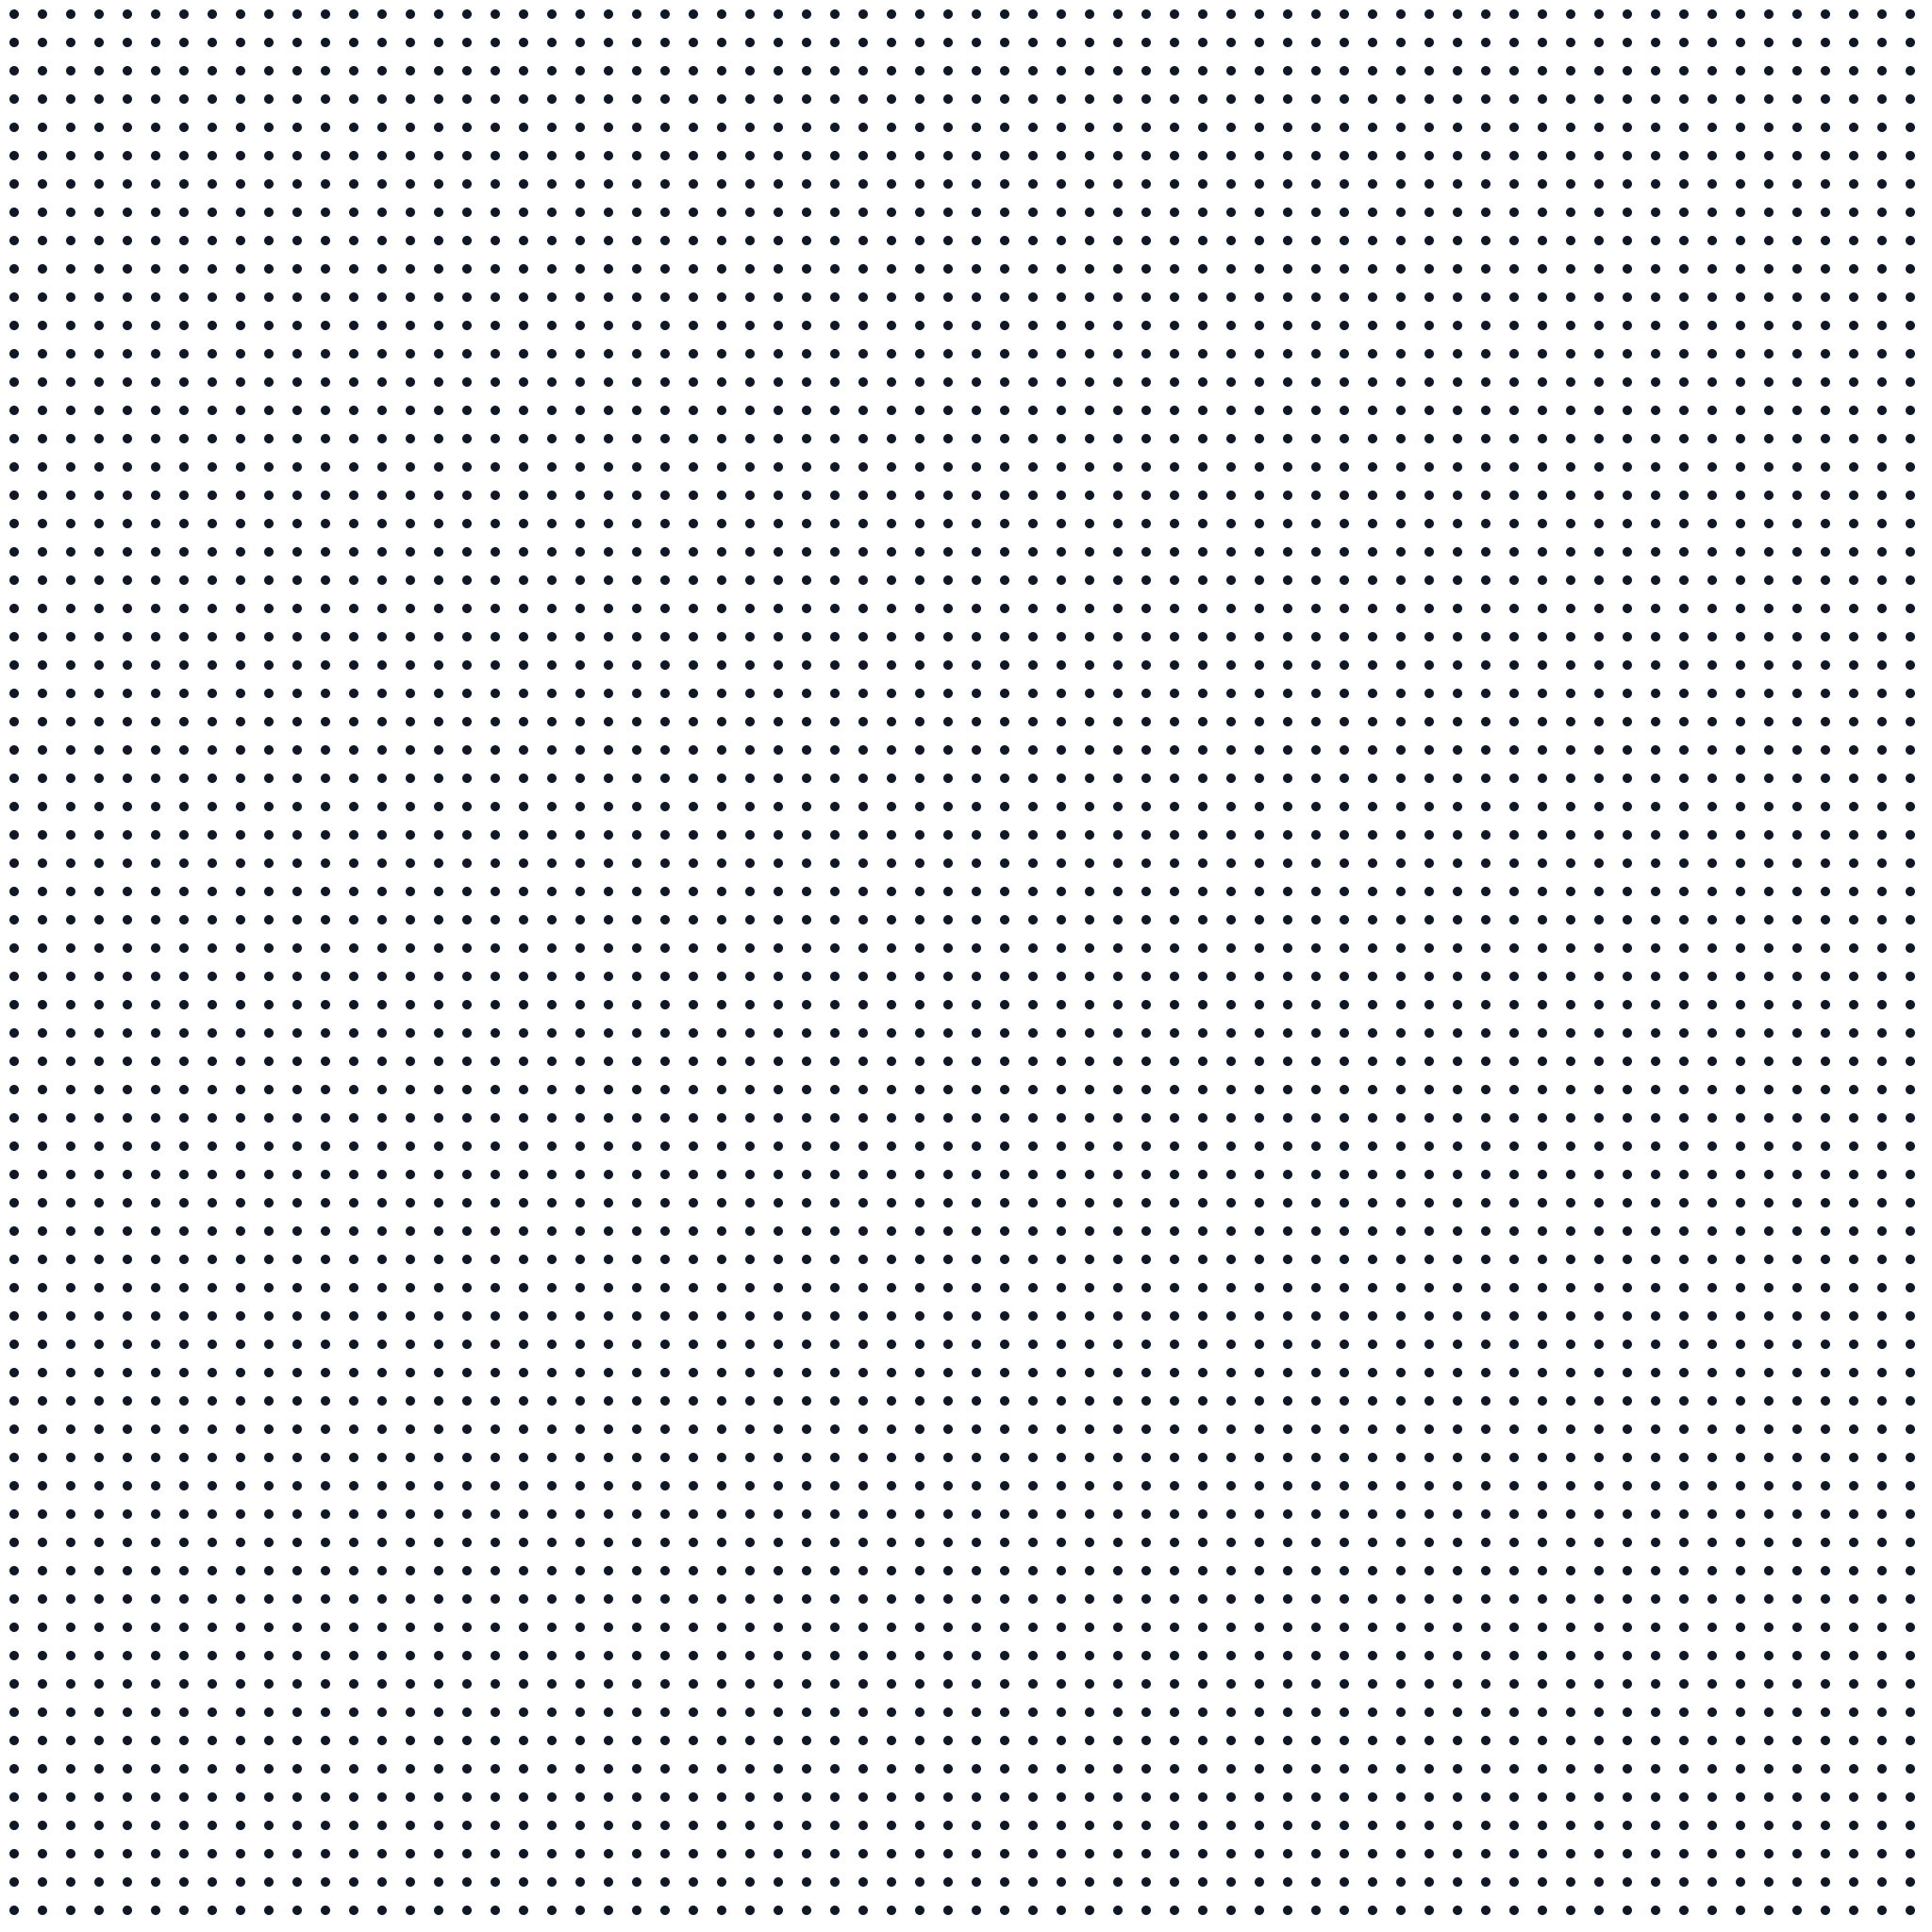
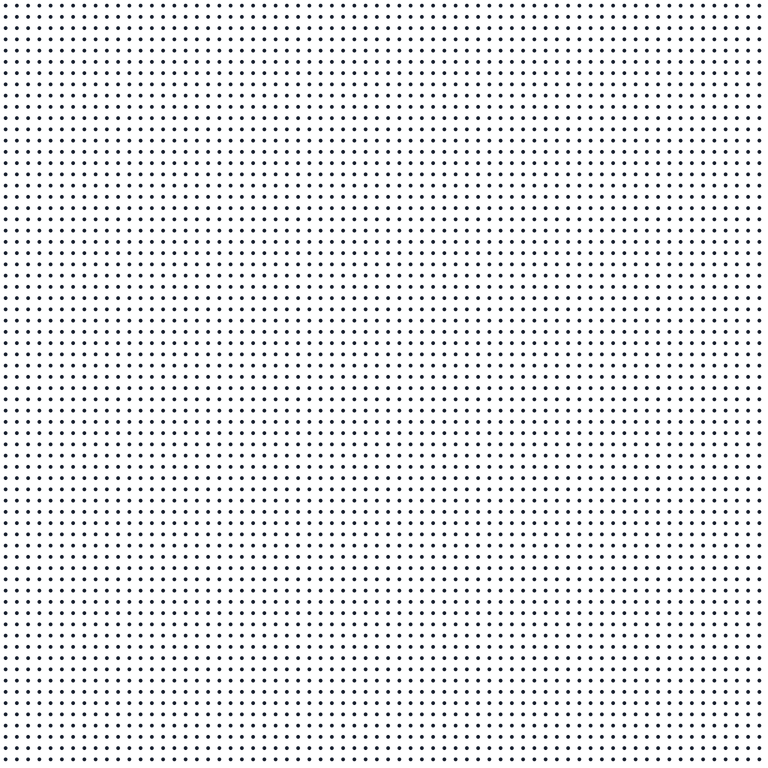
 Round dots
 · 30 px
Transparent point layer for compositing over artwork.
2048 × 2048 px · Transparent
PNG: 58.0 KiB
30 px spacing · 9% geometric coverage
Layer over existing artwork · 12 transparent textures
Use this page when you already have a photo or design and want to add a dot texture. Try dark or white dots on the sample portrait, adjust opacity, and download the transparent layer. For choosing shapes, browse Dots; for choosing pixel dimensions, browse PNG.
The formats overlap, but each collection supports a different next step. Choose by the decision you need to make.
Start here when you want to choose how the dots look. Compare four transparent round-dot textures and two cream-backed diamond patterns, then download PNG for placement or SVG for editing. For layering on a photo, use the overlay preview; for a specific pixel size, use the PNG collection.
You are hereUse this page when you already have a photo or design and want to add a dot texture. Try dark or white dots on the sample portrait, adjust opacity, and download the transparent layer. For choosing shapes, browse Dots; for choosing pixel dimensions, browse PNG.
Choose the file specificationUse this page when you know you need a PNG and want the right dimensions and background. Choose 1024 or 2048 pixels, filter transparent or cream-backed designs, and check the actual file size before downloading. For comparing dot styles, use Dots; for testing a layer on a photo, use Overlay.
Try before you download
Choose dark or white dots, then adjust the layer opacity while the original stays beside the preview.

Preview, choose, download
The previews show the original artwork. Download the full-resolution PNG for your design.
Round dotsTransparent point layer for compositing over artwork.
2048 × 2048 px · Transparent
PNG: 58.0 KiB
30 px spacing · 9% geometric coverage
 Round dots
Transparent point layer for compositing over artwork.
2048 × 2048 px · Transparent
PNG: 53.0 KiB
42 px spacing · 6% geometric coverage
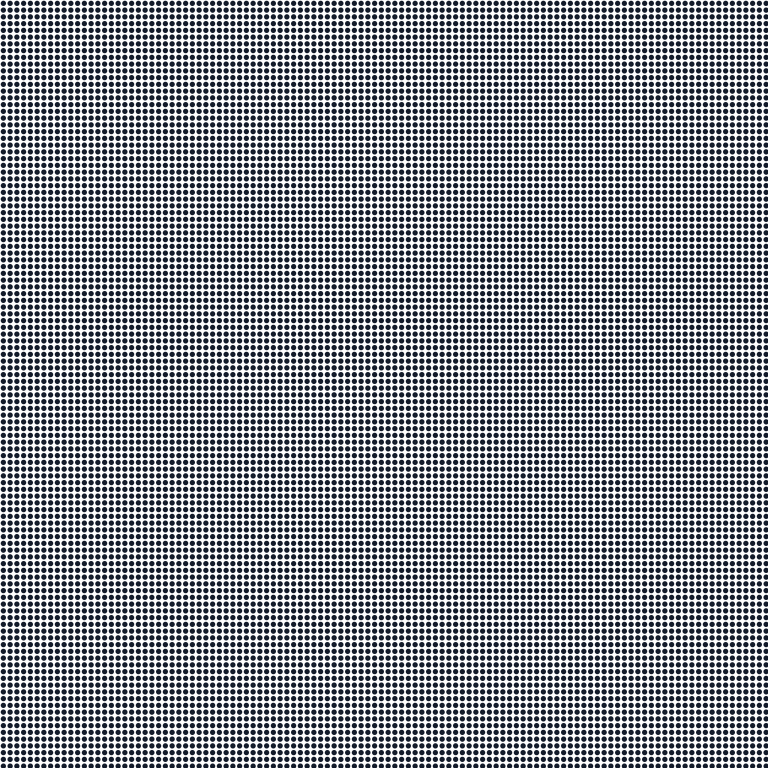 Round dots
Transparent point layer for compositing over artwork.
2048 × 2048 px · Transparent
PNG: 115.3 KiB
18 px spacing · 48% geometric coverage
 Round dots
Transparent point layer for compositing over artwork.
2048 × 2048 px · Transparent
PNG: 47.8 KiB
30 px spacing · 6% geometric coverage
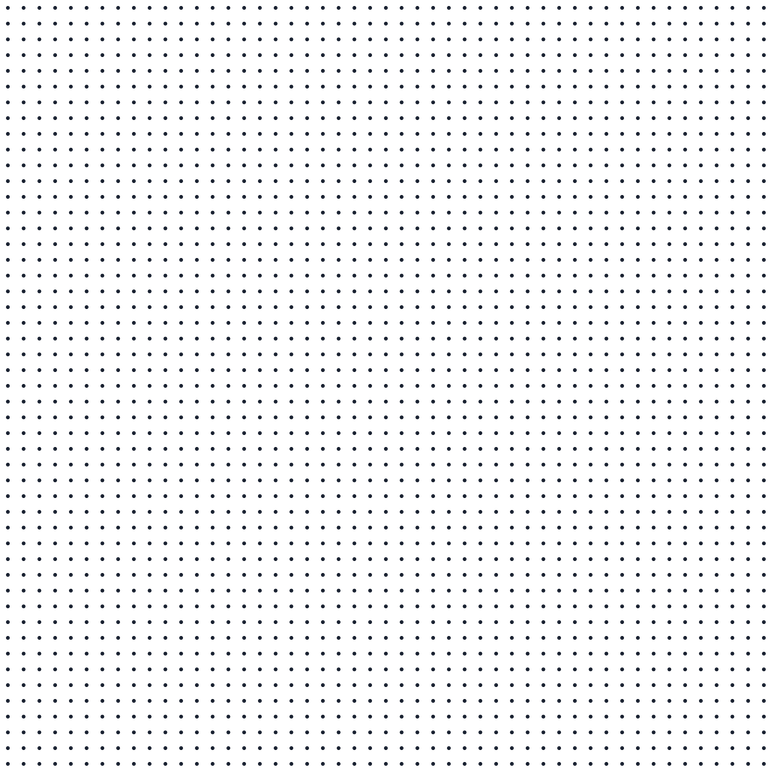 Round dots
Transparent point layer for compositing over artwork.
2048 × 2048 px · Transparent
PNG: 46.9 KiB
42 px spacing · 4% geometric coverage
 Round dots
Transparent point layer for compositing over artwork.
2048 × 2048 px · Transparent
PNG: 96.3 KiB
18 px spacing · 35% geometric coverage
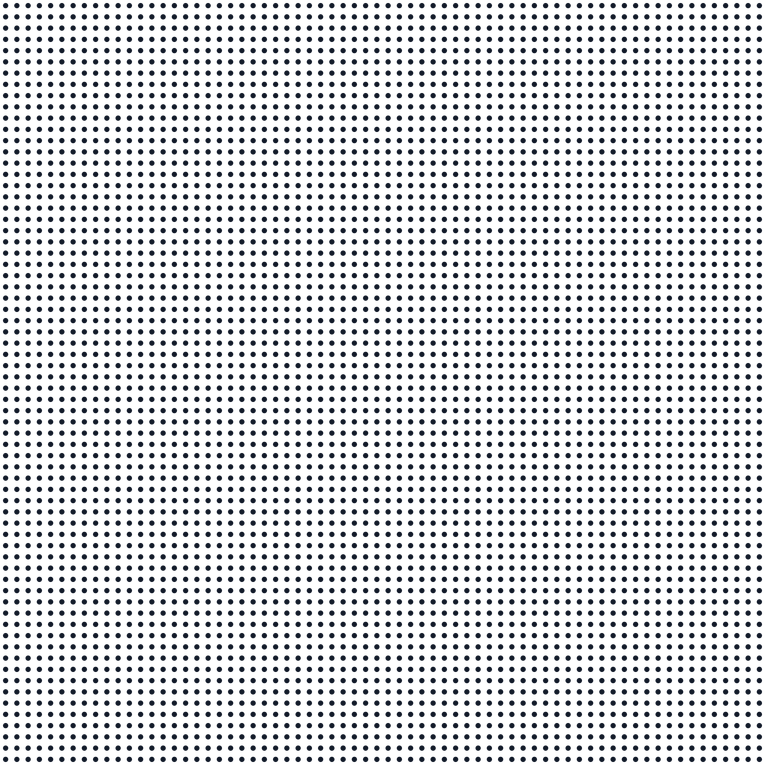 Round dots
Transparent point layer for compositing over artwork.
2048 × 2048 px · Transparent
PNG: 76.7 KiB
30 px spacing · 17% geometric coverage
 Round dots
Transparent point layer for compositing over artwork.
2048 × 2048 px · Transparent
PNG: 37.3 KiB
42 px spacing · 3% geometric coverage
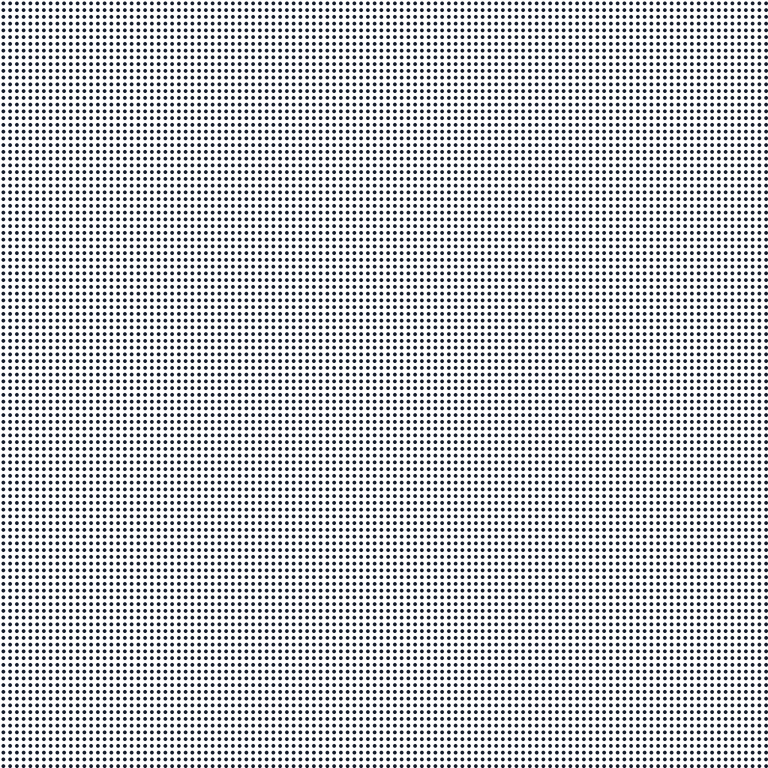 Round dots
Transparent point layer for compositing over artwork.
2048 × 2048 px · Transparent
PNG: 83.9 KiB
18 px spacing · 24% geometric coverage
 Round dots
Transparent point layer for compositing over artwork.
2048 × 2048 px · Transparent
PNG: 64.9 KiB
30 px spacing · 13% geometric coverage
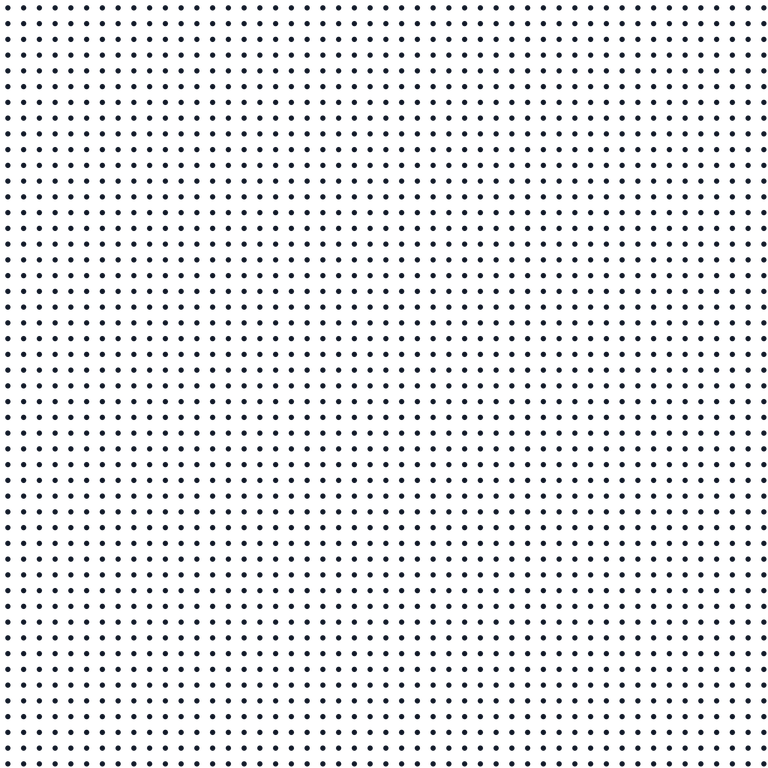 Round dots
Transparent point layer for compositing over artwork.
2048 × 2048 px · Transparent
PNG: 61.5 KiB
42 px spacing · 9% geometric coverage
 Round dots
Transparent point layer for compositing over artwork.
2048 × 2048 px · Transparent
PNG: 67.5 KiB
18 px spacing · 16% geometric coverage
Free for personal and commercial designs. Edit and combine the textures with your work; do not resell the unmodified pack. Read usage terms.
Facts from the actual exports · 2026-09-18
Byte counts come from the downloadable PNG files. Coverage is geometric and is not a physical print measurement.
| Dimensions | Distinct patterns | Transparent / opaque | PNG size range |
|---|---|---|---|
| 2048 × 2048 px | 12 | 12 / 0 | 37.3 KiB–115.3 KiB |
Example: Round dots · 30 px uses 30 px spacing · 10 marks, with approximately 9% geometric coverage. The file size and dimensions on each card follow the chosen download.
The useful part
A halftone overlay adds a separate layer of printed-looking dots to an existing image. The transparent spaces let the original artwork show through. You can move the layer, change its opacity, crop it, or remove it without rebuilding the photograph underneath. This is useful for collage texture, poster accents, editorial graphics, and comic-inspired surfaces where the source image should remain recognizable.
An overlay is different from converting a photo into halftone artwork. Here, the dots keep the same geometry across the layer. They do not automatically become larger in a shadow or smaller in a highlight. The homepage generator performs an image-based conversion when that is the effect you need. The purpose of this collection is controlled layering over artwork you already have.
The useful part
The comparison uses a built-in portrait. The original stays visible on the left; the same portrait with your selected texture appears on the right. Choose a layer from the selector and move the opacity slider. At zero percent, the two views should match. At one hundred percent, the marks are fully visible while the transparent spaces still reveal the photograph.
Start at thirty-five percent, then watch the eyes, hair, and face edges as you adjust. A dense halftone overlay may need less opacity. Judge the effect at the final display size.
The download button saves the original transparent texture, not a flattened copy of the sample portrait. The preview opacity is not baked into the file. Reapply your chosen opacity after placing the PNG in your own design. This keeps the layer reusable and lets you make a different choice for a second photo.
The useful part
Dark dots are easiest to see over lighter regions. They can add texture to paper-colored backgrounds, skies, skin highlights, and pale panels. White dots are more visible over dark artwork and can produce a lighter, distressed-looking accent. Because both files are transparent, neither color needs an opaque backing to reveal the image underneath.
Test a white halftone overlay over both light and dark regions. Use a mask in your editor if the texture should affect only part of the composition.
The useful part
Density describes how much of a repeating cell is occupied by a mark. Opacity describes how strongly that mark is blended with the artwork below it. Reducing opacity makes the same dots fainter; it does not add gaps or change their spacing. If the surface still feels crowded at a low opacity, choose a lighter pattern instead of continuing to fade a dense one.
This collection spans approximately three to forty-eight percent geometric coverage. The Light filter includes seven files at fifteen percent coverage or below; Dense includes five above that threshold. The split is based on the generated geometry. It is not based on file numbering or whether the dots happen to be black or white. Each card shows its spacing and coverage so you can make the comparison yourself.
The useful part
Download the PNG, import it as a new layer, and position it over your image. Resize the layer to the intended area, choose an opacity, and inspect the result at the final display size. Keep the original image underneath unchanged. Save an editable document if you expect to revise the placement, then export a flattened copy only when the overall design is ready.
Start with Normal blending: every halftone overlay here already has a transparent background. If you see a solid backing, check that you have not selected a cream-backed texture from another collection.
The useful part
Every halftone overlay in this collection is a 2048 by 2048 pixel PNG. The square sheet may need cropping to fit a landscape poster or a tall cover. Fit it to the final composition deliberately, and look for stretched circles if the editor allows independent width and height changes. Preserve the aspect ratio when you want to keep the original dot shapes.
Repeating a whole sheet can reveal a join where an edge cuts through a dot cell. For a seamless repeated background, use the pattern maker. If narrow stripes appear only while zooming, inspect the file at one hundred percent and the final export size before changing the source. Regular grids can interact with screen scaling, so a thumbnail alone is not a reliable test of the finished texture.
The useful part
Individual buttons download transparent PNG layers. The complete pack contains all twelve PNGs, the corresponding SVG geometry, and usage terms. The file facts report real export sizes. Preview images are delivered as WebP for the page, while downloads retain their original formats and full resolution.
These original geometric textures are free for personal and commercial designs. You may modify the files and combine them with your work; do not resell the unmodified pack on its own. Use the comparison as a starting point, then test on your actual artwork. For a broader choice of dot shapes, visit Halftone Dots. For smaller pixel dimensions or an opaque background, visit Halftone PNG.